Sourdough
Like everyone else in 2020, I caught the sourdough bug and haven’t been able to shake it. A few friends and family members have asked for my recipe so I took some time to lay it out here for them.
Contents
Before we begin, it’s important to know that there are a thousand different ways to make sourdough. Below are some of the resources I’ve pulled from as well as the current steps I take to make a tasty loaf—most times.
Also keep in mind that there are many factors that impact your loaves. Things like altitude, humidity, oven styles, etc. all play a role. For example, the recipe below was developed in Vancouver but doing everything the same in both Calgary and Fernie made for different loaves each time. I’d suggest starting with this and then playing around with things like temperature and timing to get a loaf that’s right for you and your kitchen.
After enough times through you’ll begin to get the feel for how to alter your recipe to effect things like density, bubbles, and crust.
Ingredients
Dark rye flour
Rice flour
~4 cups of all-purpose flour
~2 cups of water
~1 tablespoons sea salt
~1 cup of sourdough starter
Materials
Mason jar (I recommend a straight wall / wide mouth one because it’s easier to keep clean—see below)
1 elastic band
Measuring cup
Small spatula
Large mixing bowl
Tea towel
Bench scraper
Parchment paper
Dutch oven (I use a 7 quart)
Sourdough Starter
I bake with a 100% dark rye flour starter as I think it makes for a bit of a sweeter/sour flavour but the type of flour you use is entirely up to you. My starter began as 100% all-purpose based but over the course of feeding it, it has become entirely dark rye.
If I’m not baking regularly, I aim to feed my starter at least once a week.
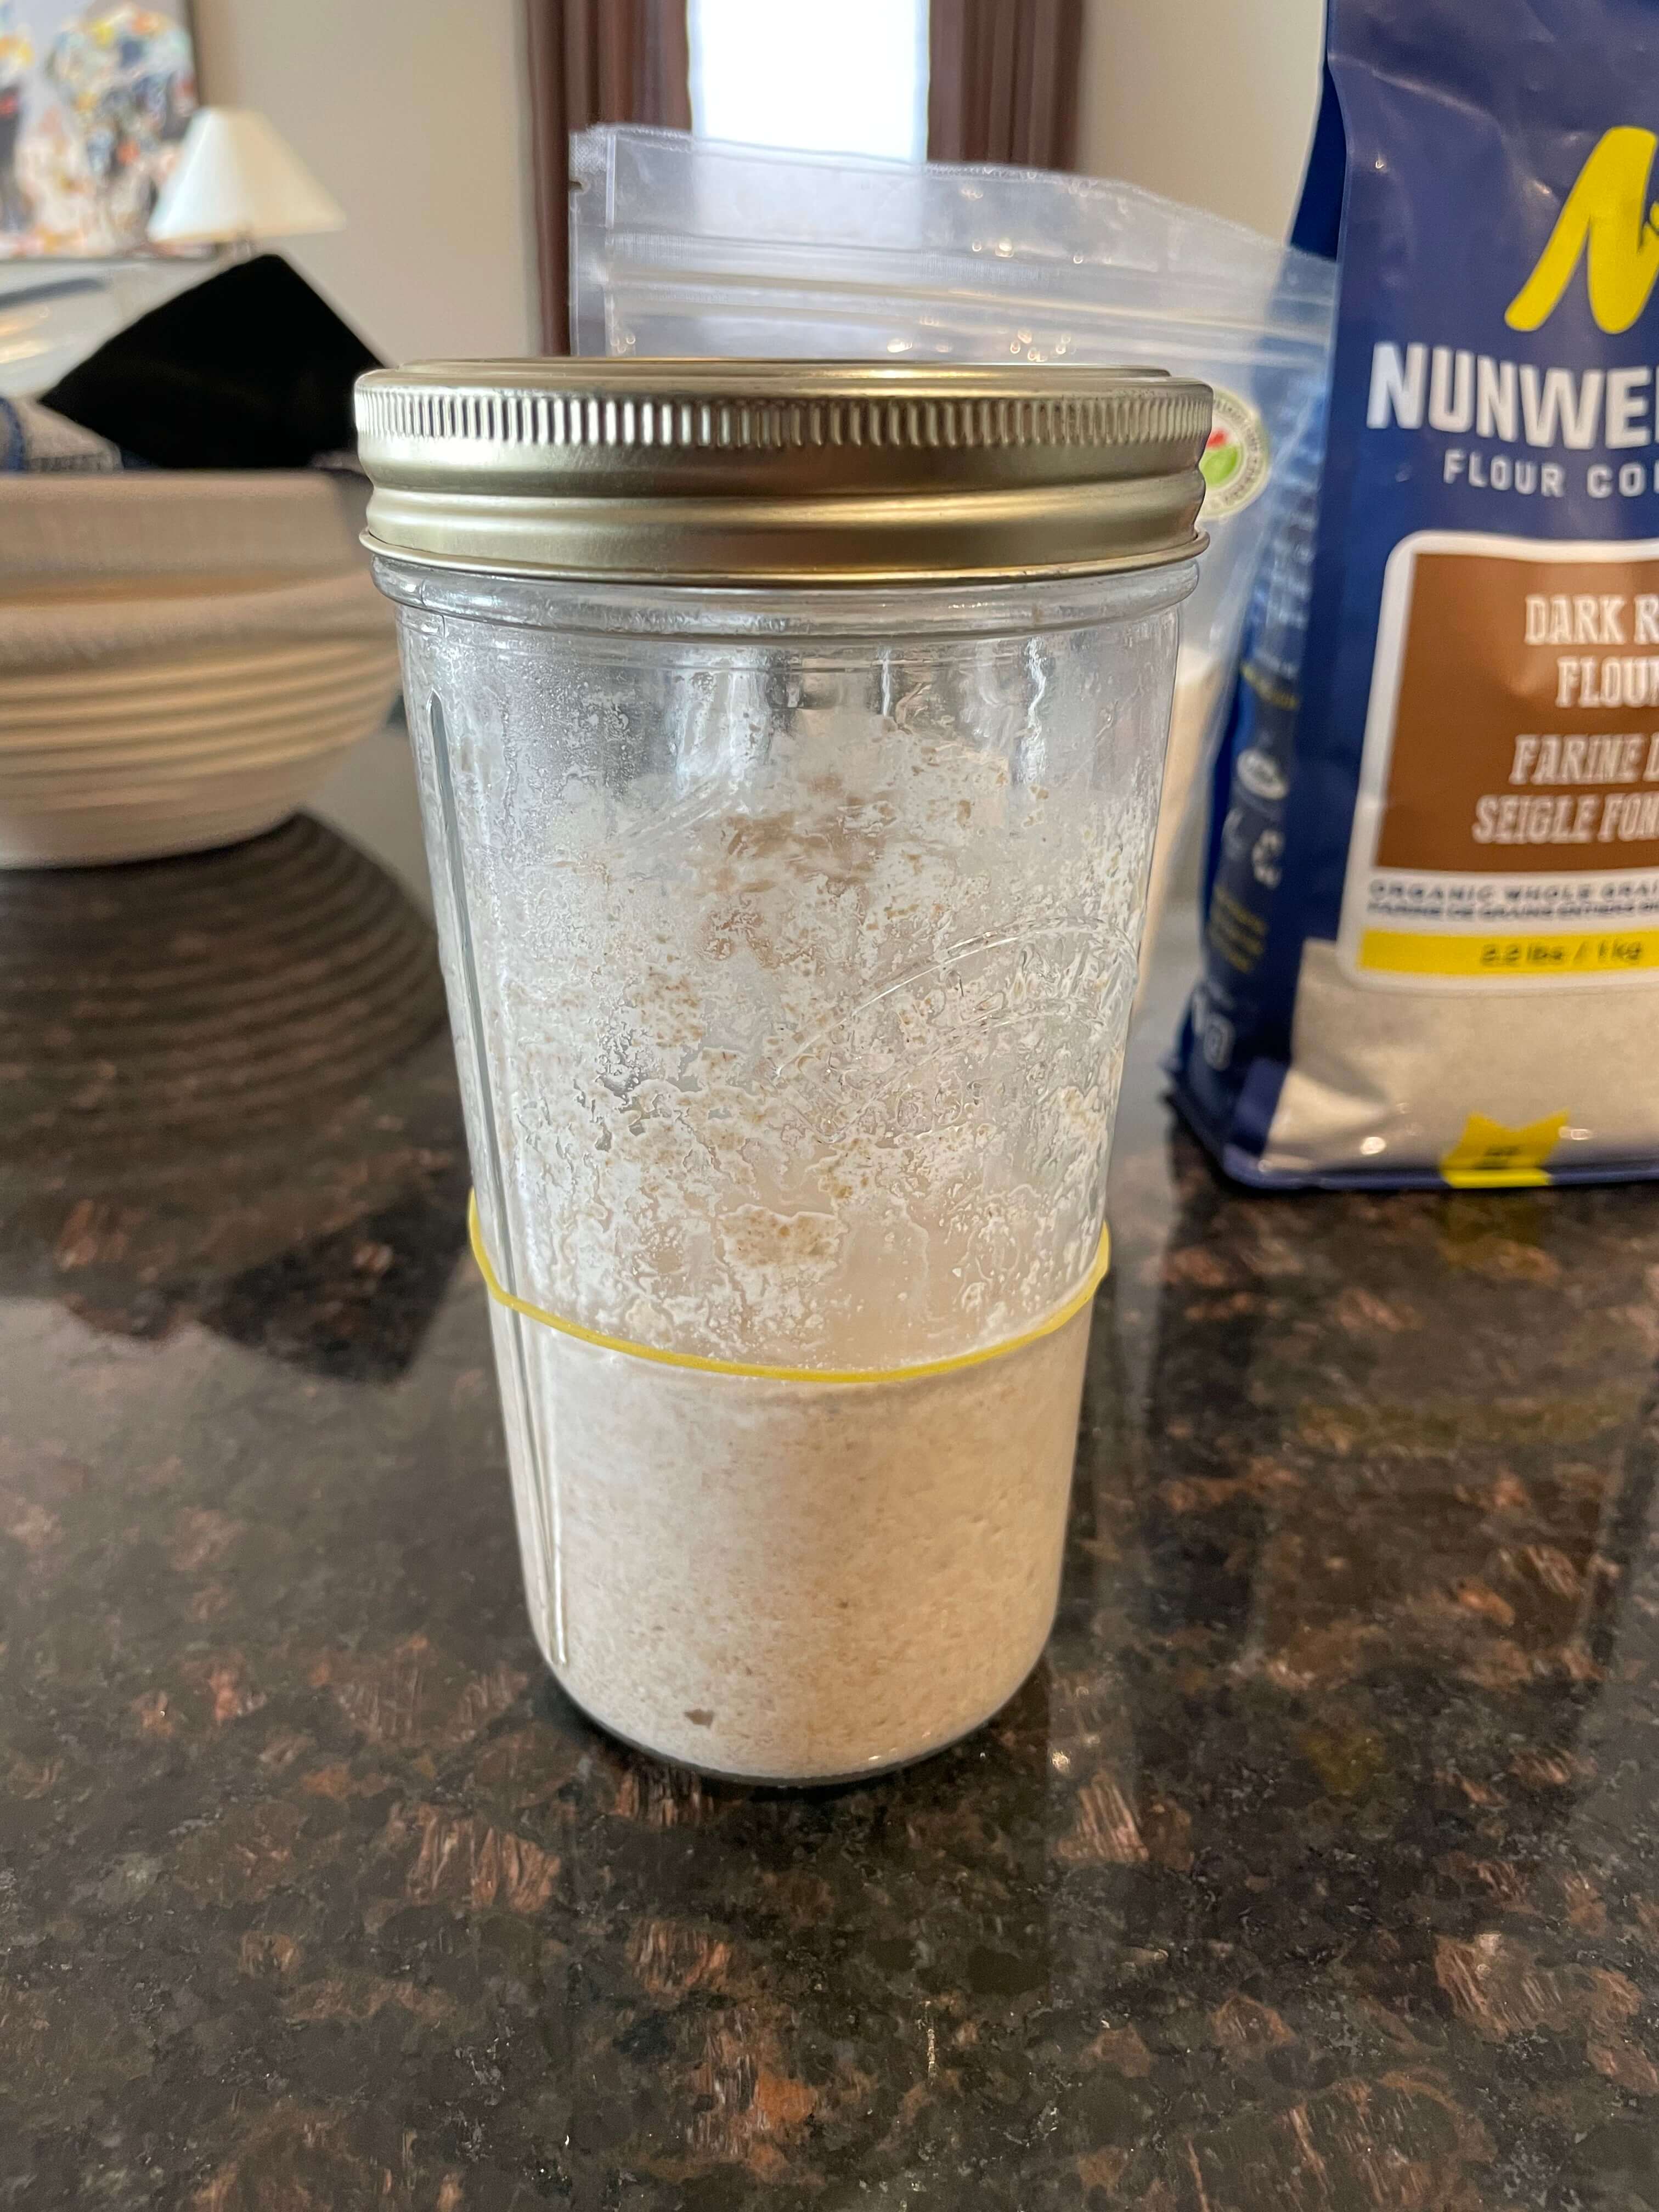

To feed your starter, mix 1/4 cup of your chosen flour and 1/4 of water to your existing starter. If your new mixture exceeds the mid-way point of your container, either throw away the excess or cook it up like this to ensure there is enough room for it to activate. I find using a small spatula to mix is best as it also enables you to get all of the excess that builds up on the walls of the jar—a straight wall/wide mouth jar helps as well.
Once mixed, use a wet paper towel to clean the mouth of the jar before putting the lid on and sealing it. I tend to put my lid on relatively tight but there’s differing opinions about this. An elastic band can be used to mark the top of your newly fed starter.
After about 1-2 hours on the counter (depending on room temperature) it should double in size and will be ready to bake with.
I like my starter to be relatively young when I bake, meaning I feed it a couple hours before I want to use it. If I’m only re-feeding my starter and not baking with it, I will still leave it out for an hour or so after feeding as the rye flower specifically becomes very stiff when cold. Once it’s risen, pop it in the fridge until your next bake or feeding, whichever comes first.
🍞
Test your starter
If you want to know whether or not your starter is ready for baking, an easy test is to drop a tablespoon of it into a few inches of water. If it floats, it’s ready.
Instructions
1. Prepare starter
Remove your starter from the fridge and feed it. Let sit on counter to activate for 1-2 hours. See instructions above ↑
2. Mix flour & water
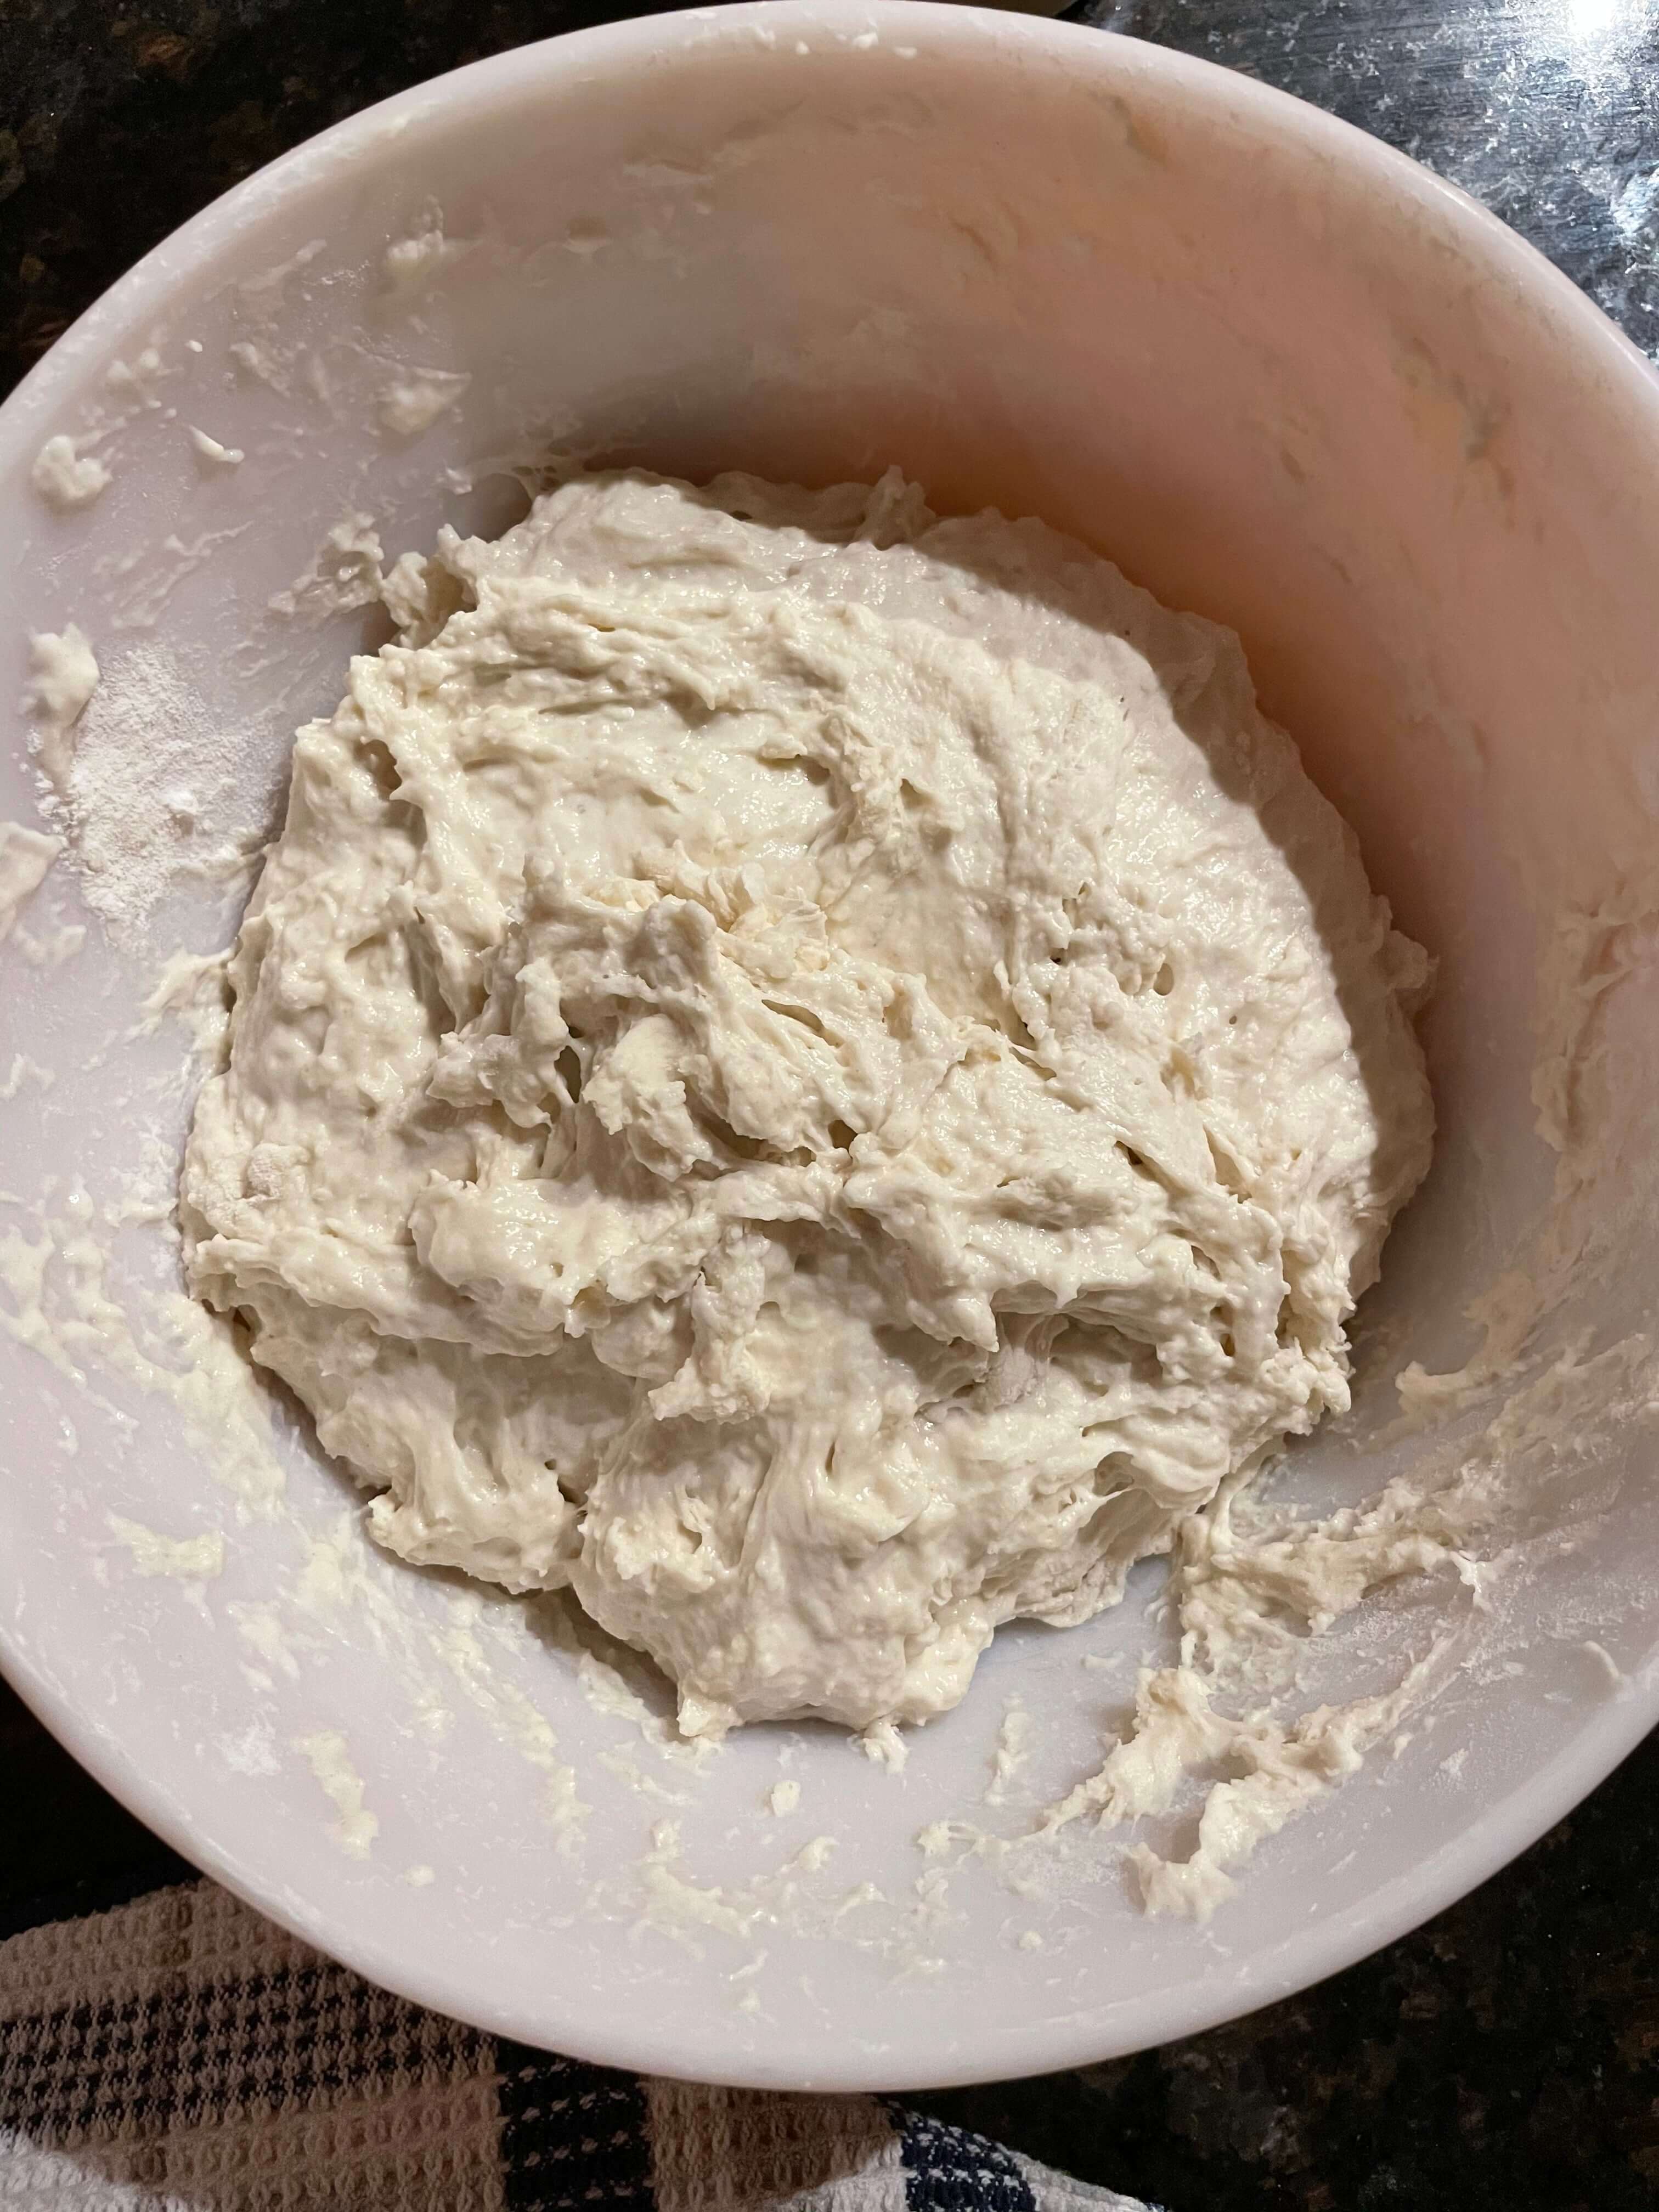
Once your starter is ready, mix ~4 cups of all-purpose flour and ~2 cups of water. You don’t want it to be too wet and sticky, but also not so “shaggy” that there is lots of unblended flour in the bottom of the bowl. Add flour if too wet or water if it’s too dry. Let sit for 45 minutes with a tea towel over the bowl.
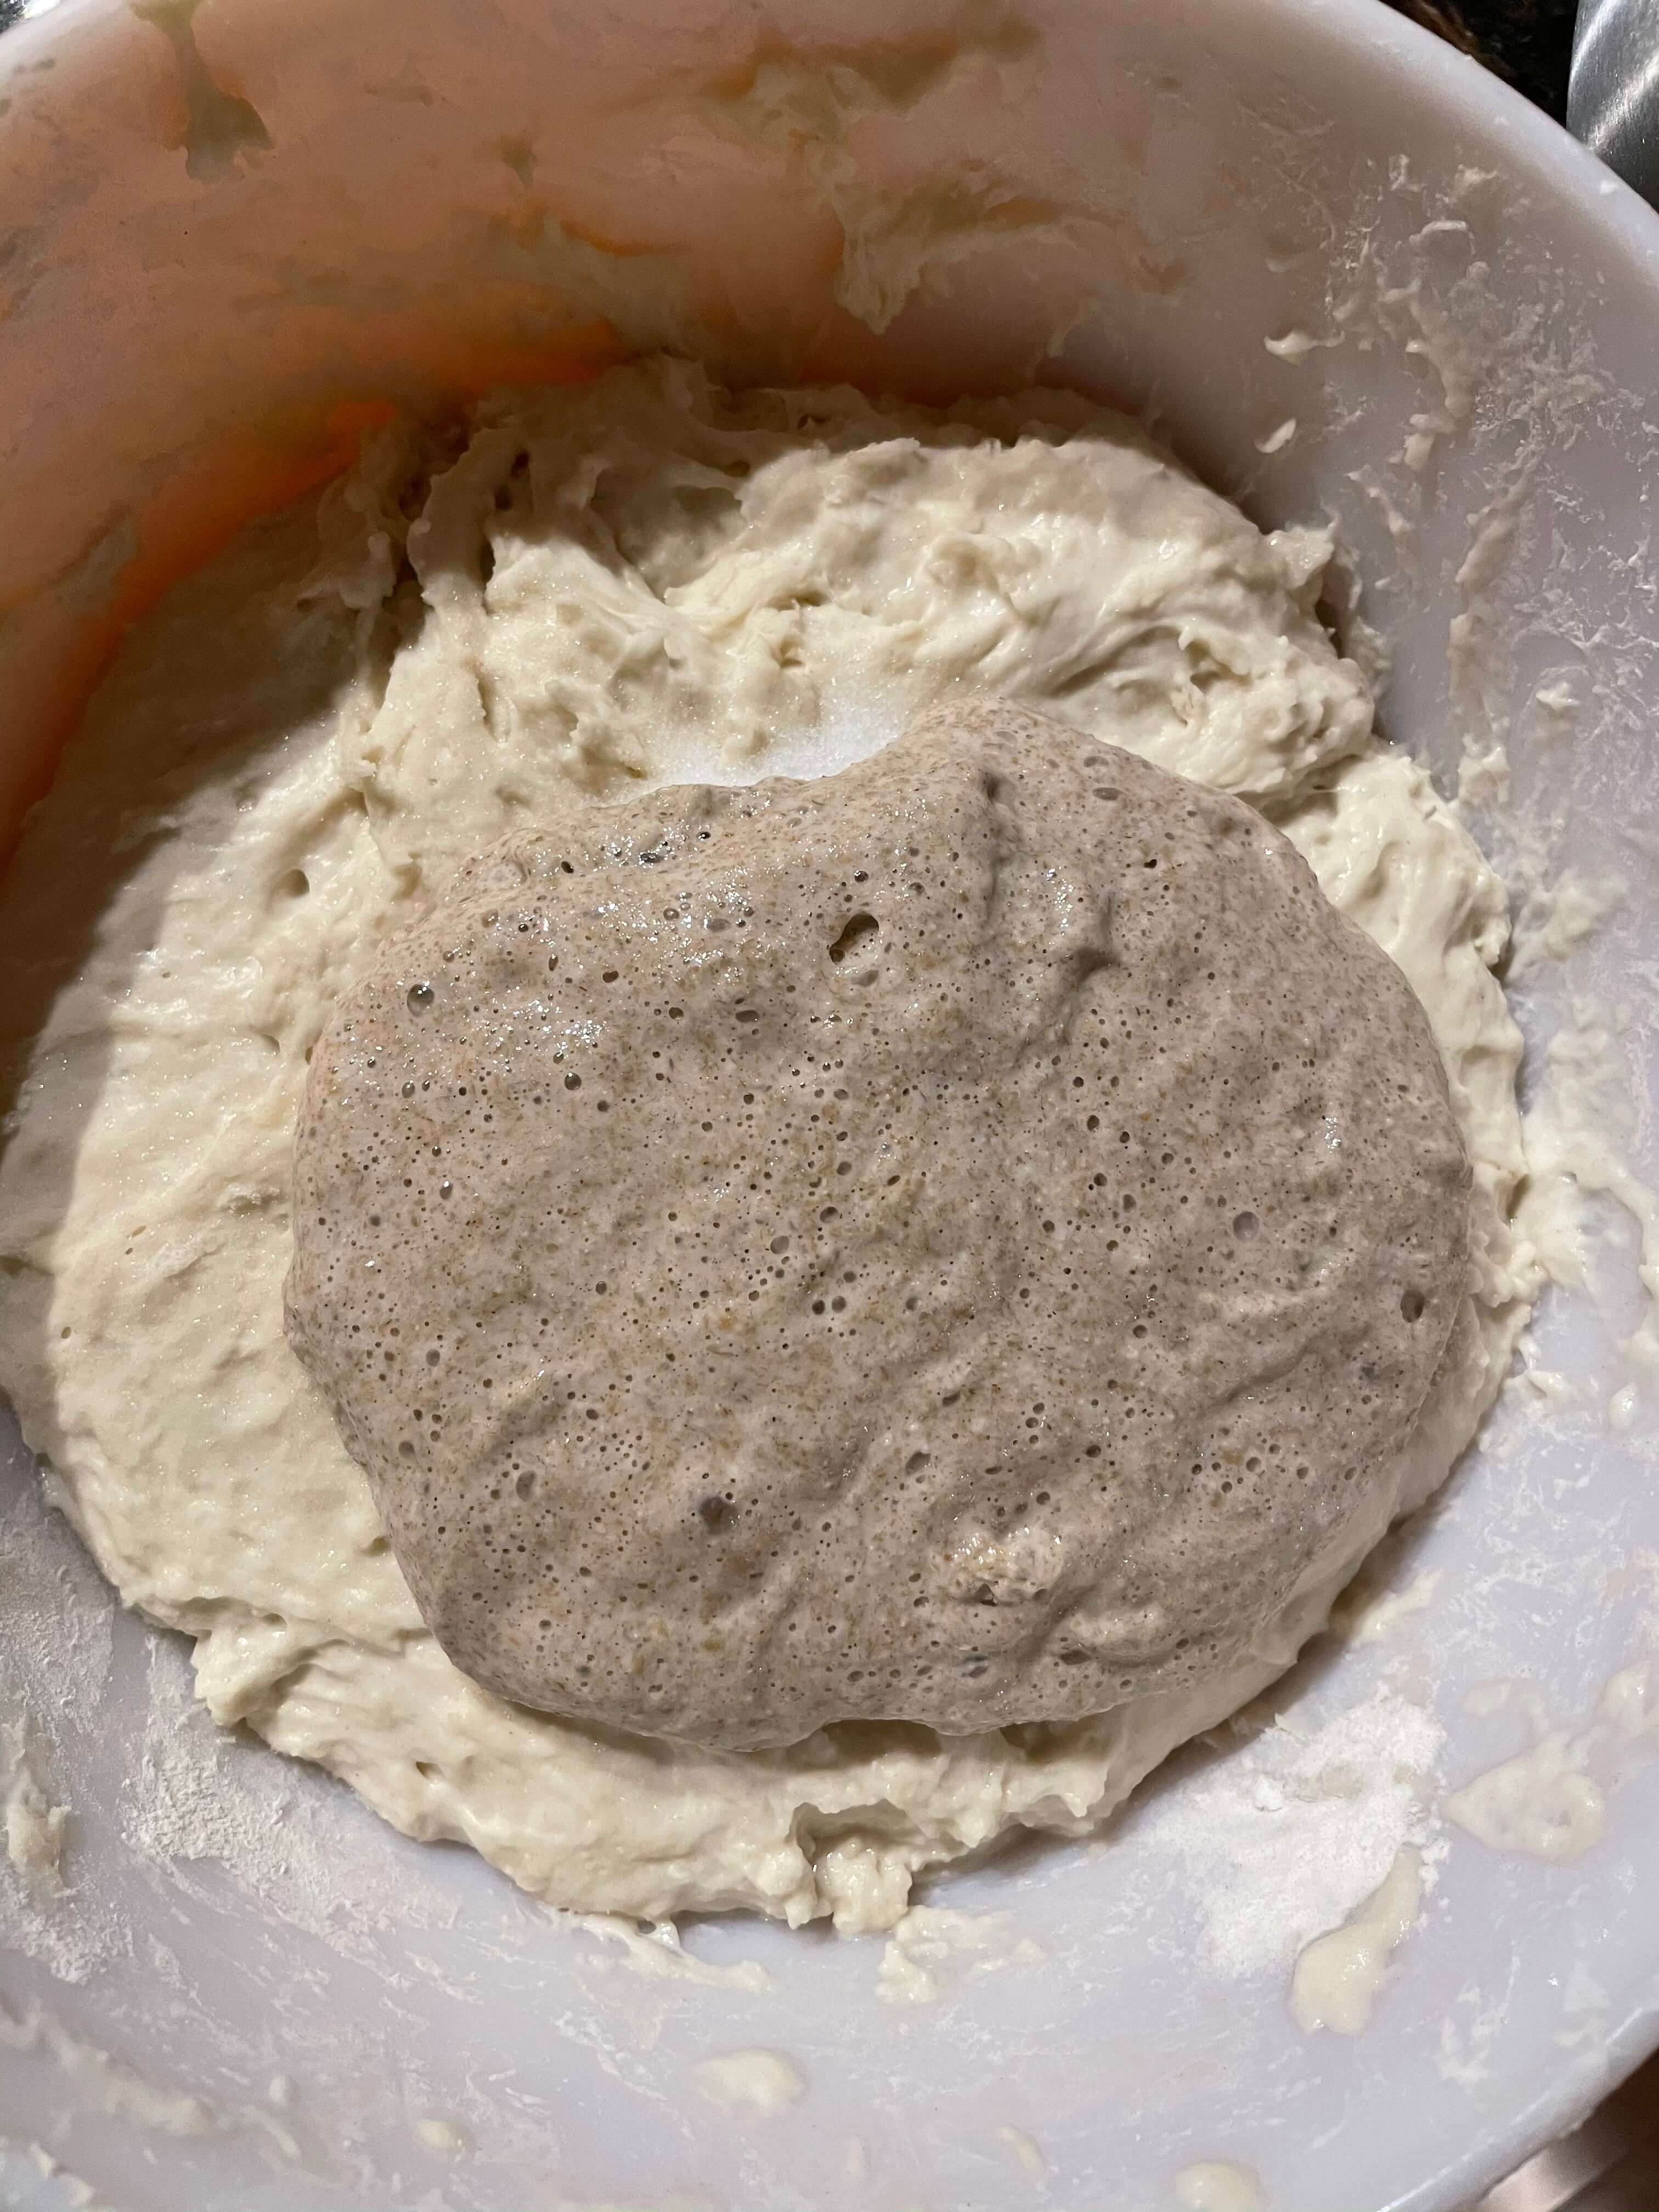
3. Add salt & starter
After you flour/water mixture has had some time to rest (45 minutes), add ~1 tablespoon of salt and ~1 cup of your sourdough starter and mix well. Once everything is combined, cover with towel and let sit for 30 mins.
Feed your starter following the instrucions above.

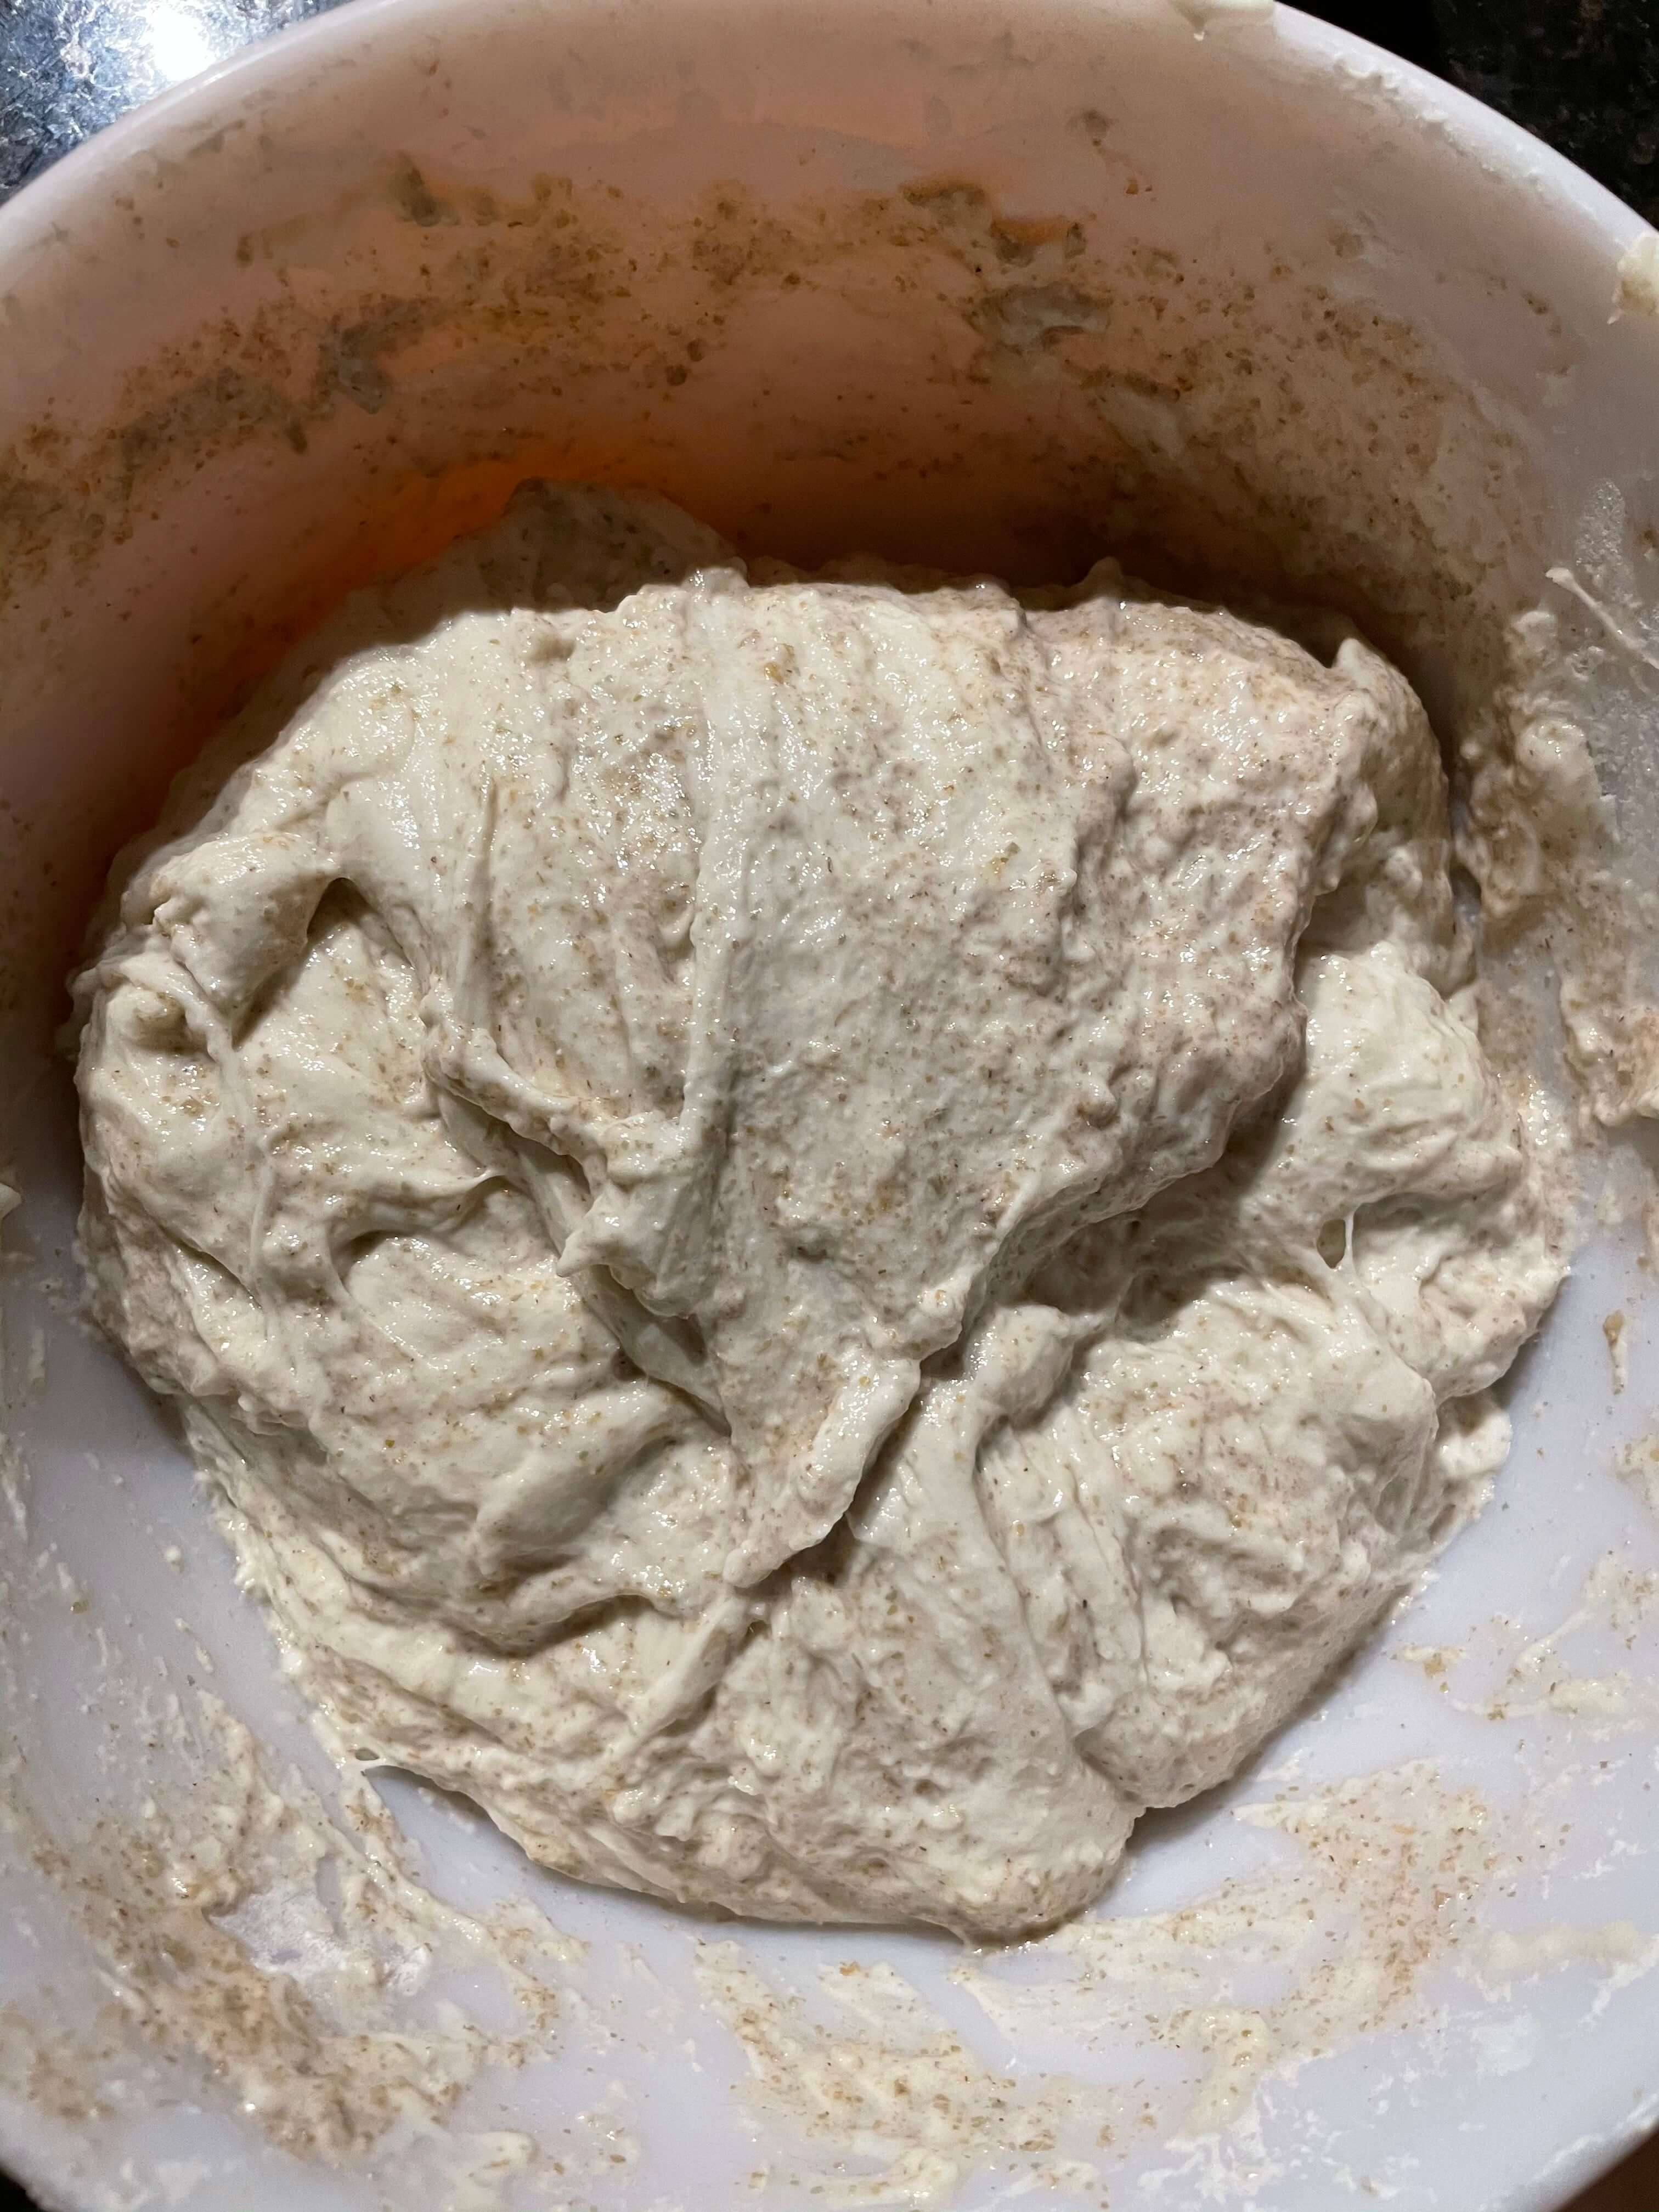
4. Stretch & fold
For the next 2-3 hours, you will stretch and fold your dough every ~30 mins. Wet your hand to help keep the dough from sticking to it.
🍞
Test your dough
Use the “window pane test” to tell if your dough is ready. Gently stretch a piece of your dough until it is thin enough to see through it. If it doesn’t break, it’s a good indication that the gluten is well formed
5. Bulk Rise
Once your dough is ready, let sit for for a “bulk rise” or “bulk fermentation”. This can be anywhere from 2-6 hours depending on the temperature of your room (warmer is faster, colder is slower). If you want, you can place it in the fridge to retard the process.
You’re looking for your dough to near double in size and to be jiggly like jello when you shake the bowl.
6. Shaping & bench rest
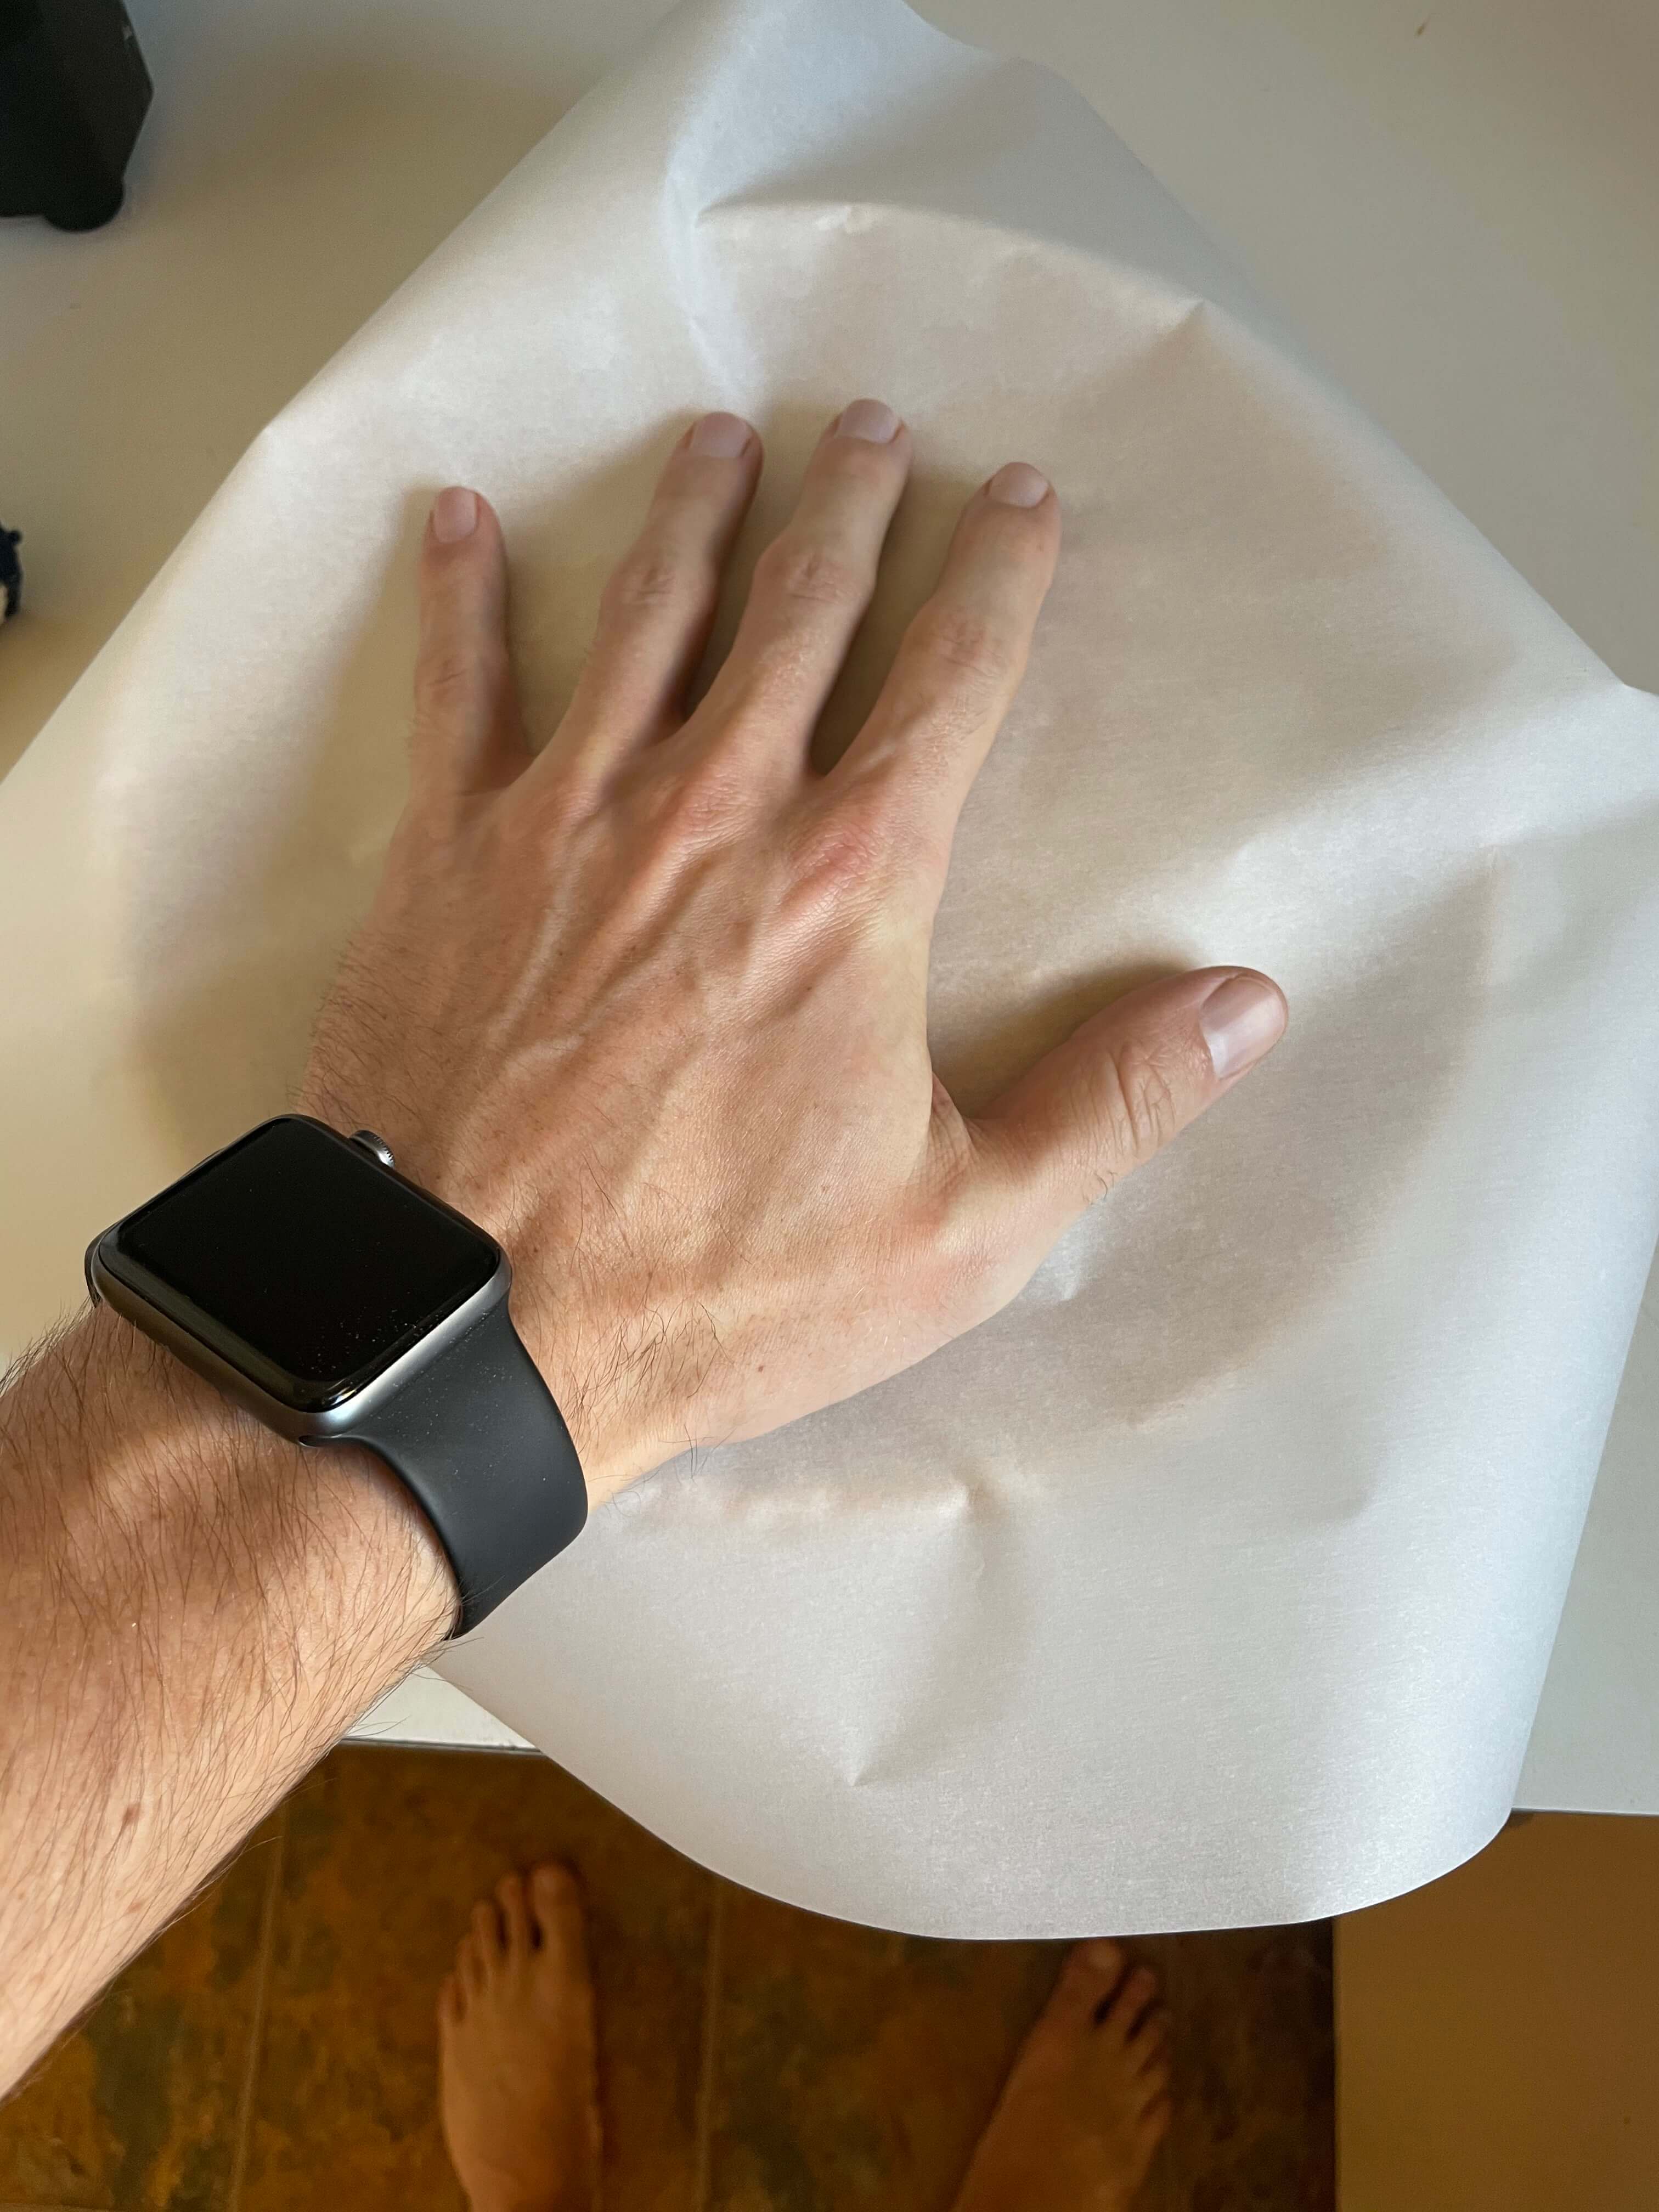
Pour your dough onto a clean surface. Water on the table will help keep the dough from sticking. Wet one of your hands and use a bench scraper in the other to shape the dough. In a circular motion, tuck the dough under itself to create a round, dome like shape. Let sit on the table for 15 minutes—this is the “bench rest”
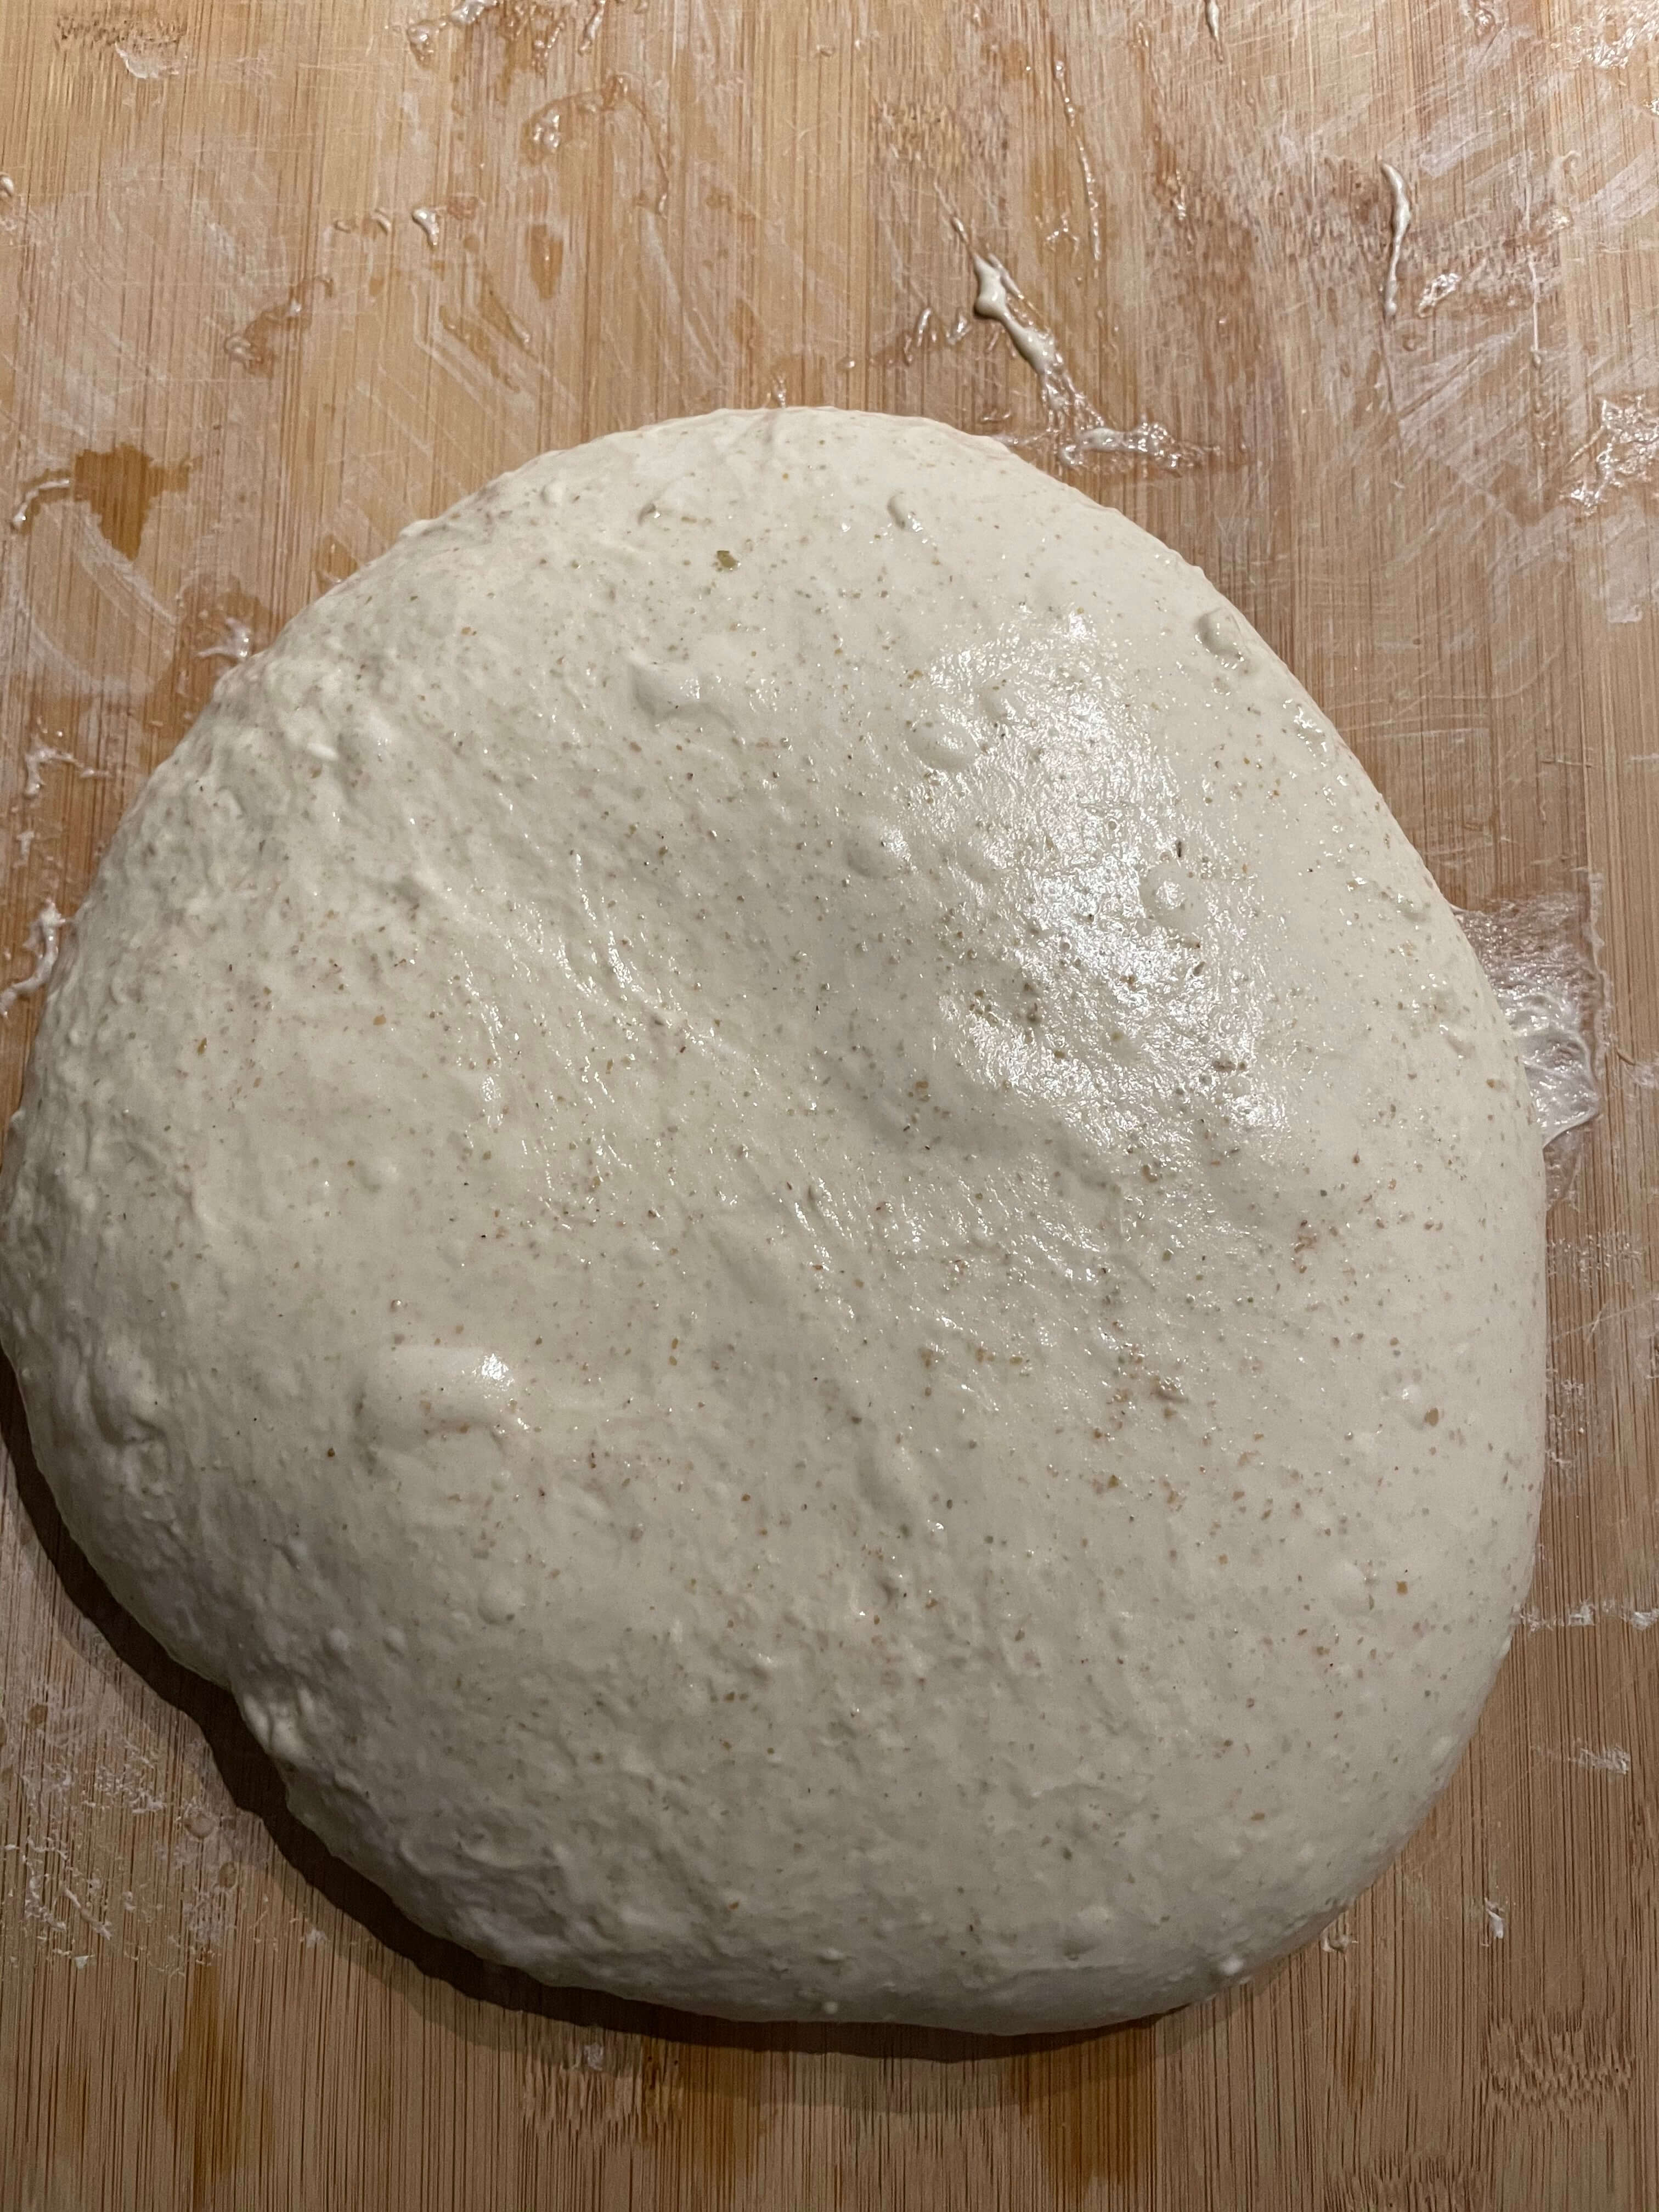 After shaping the dough, let it rest. Notice the bubbles on the surface.
7. Final shaping
Lightly flour a clean surface and place the rested dough seem-side up. Try to keep the flour on the outside of the dough as much as possible.
Starting at the end furthest from you, begin by grabbing the sides and folding it into the middle, alternating sides until you reach the end. Now grab the end closest to you and fold it into the middle and rolling the entire dough away from you so that the seam is on the bottom.
Place the dough seam-side down and let rest for a few minutes.
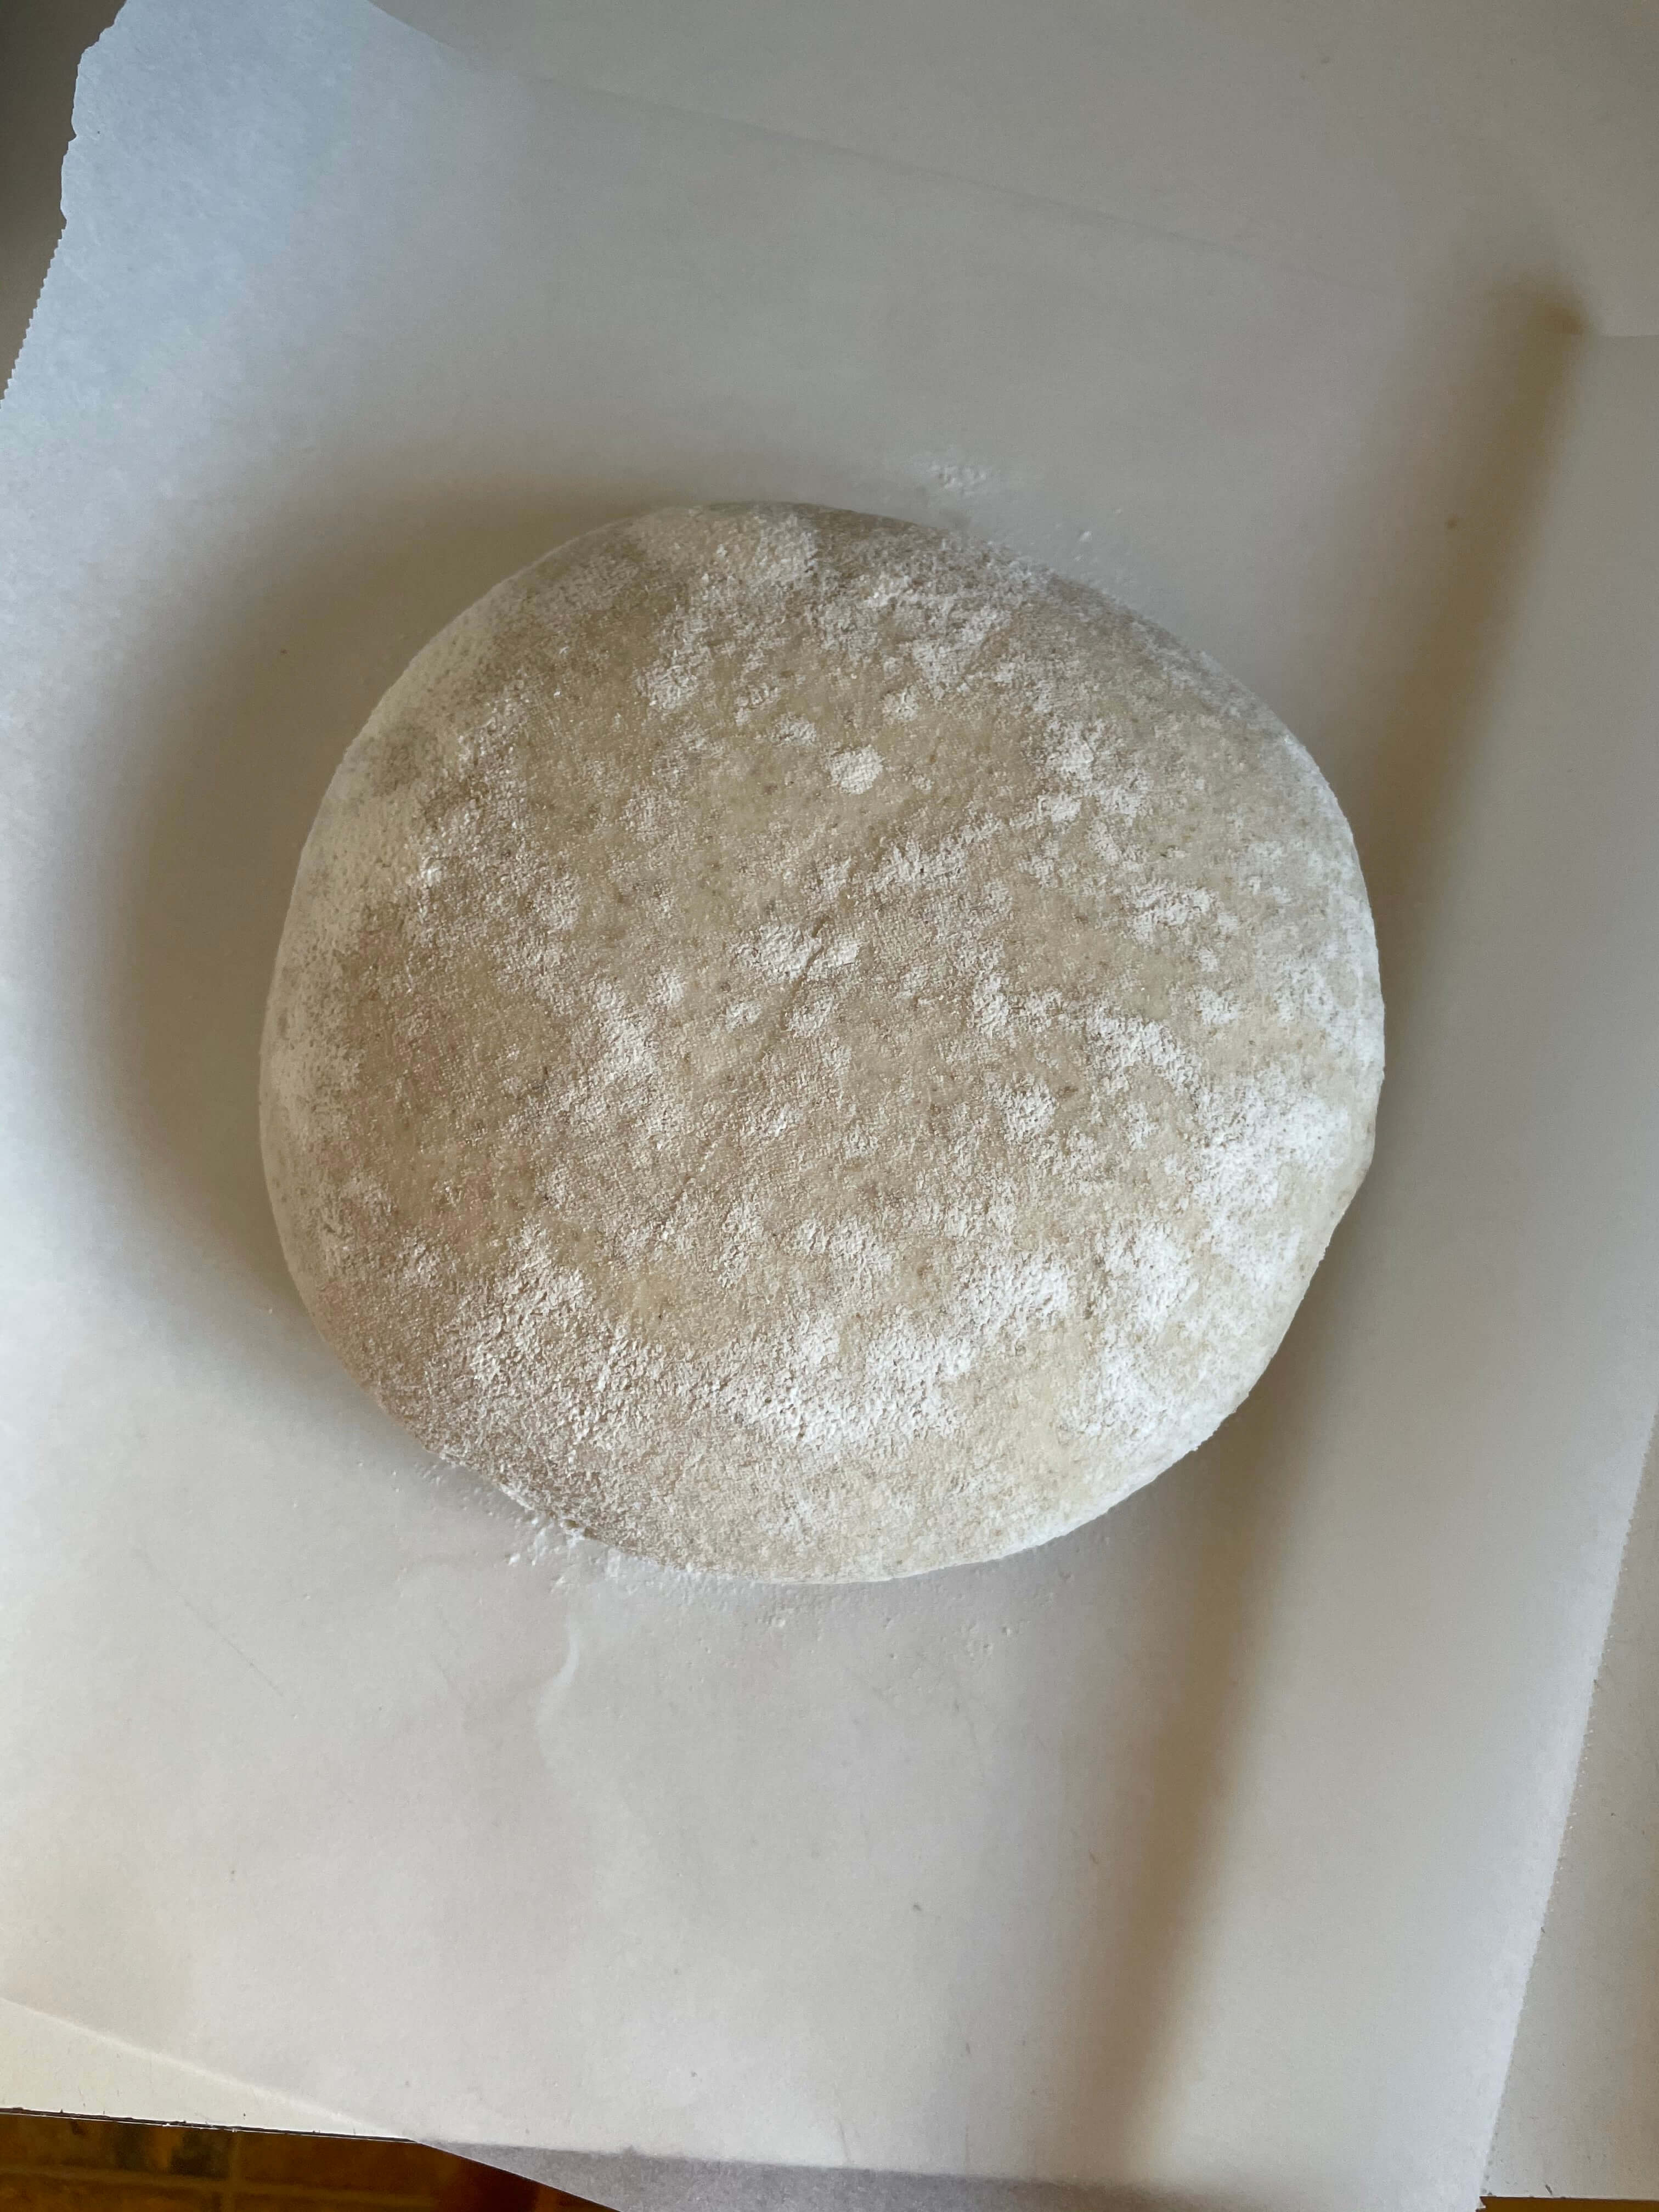
8. Proofing
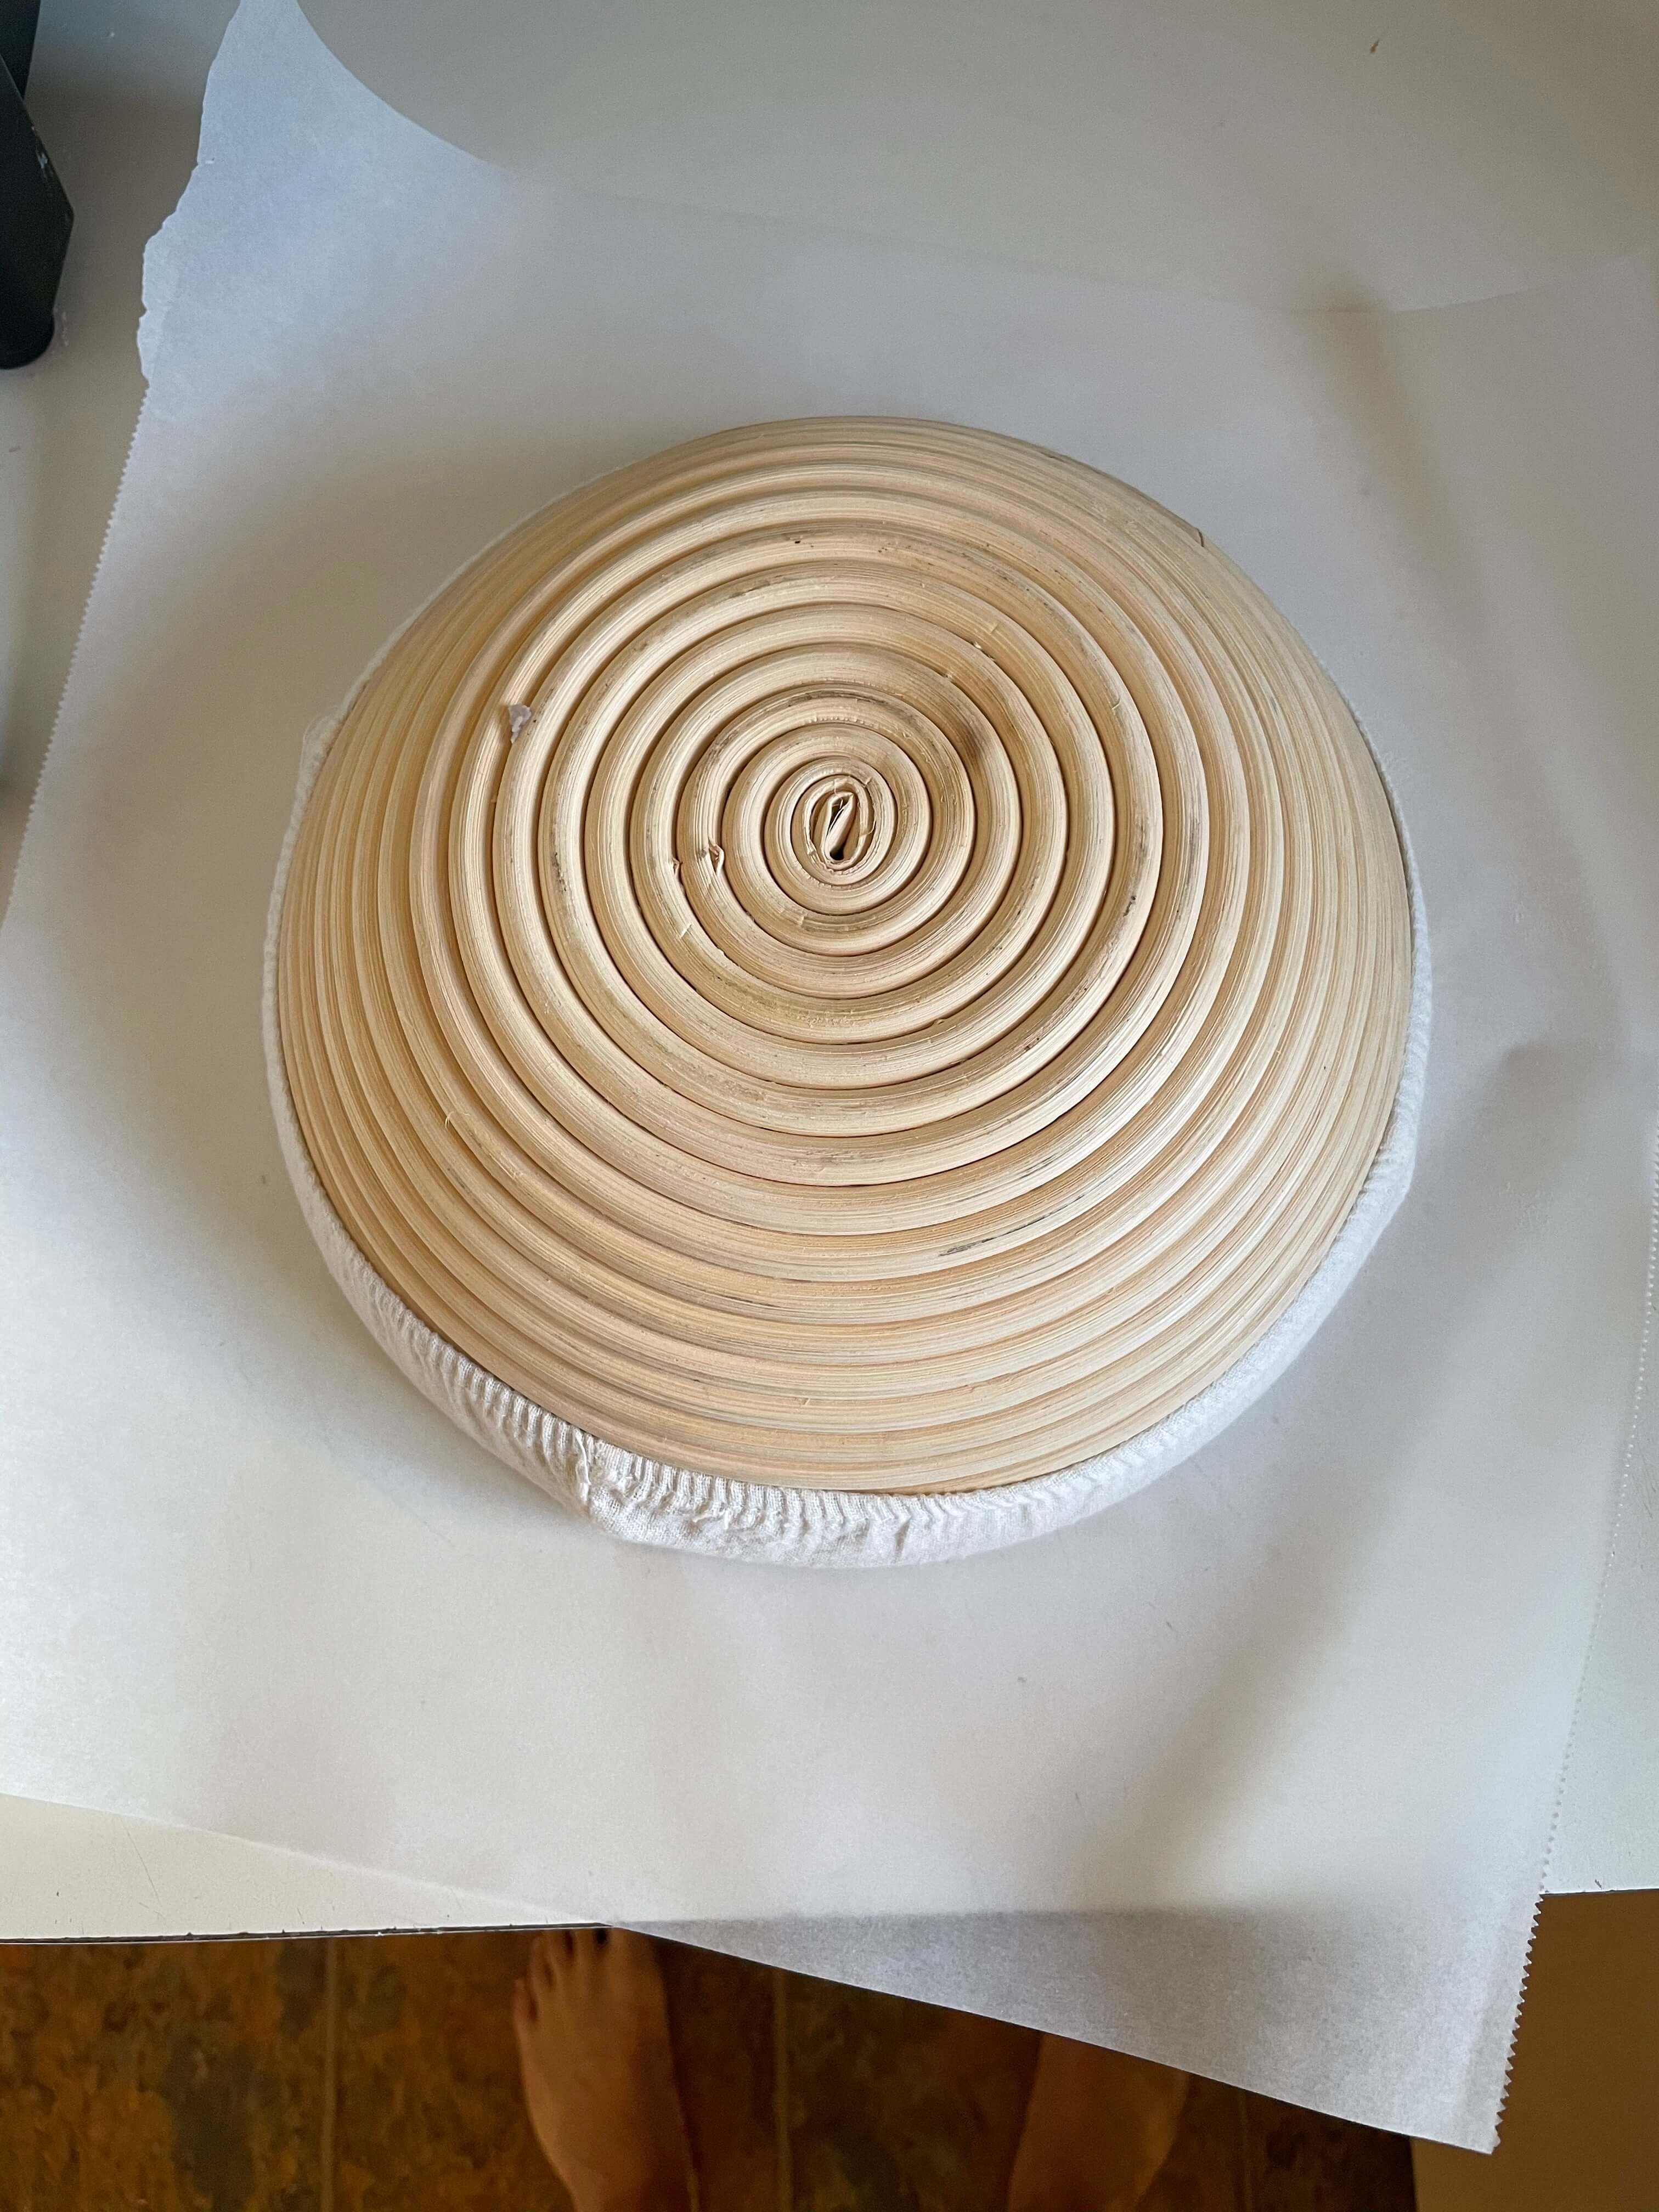
Grab your proofing basket — or towel-lined bowl if you don’t have a proofing basket — and lightly dust the inside with your rice flour. The rice flour is higher starch than regular flour which allows it to absorb a bit more moisture and helps the bread not to stick when you’re removing it the next day.
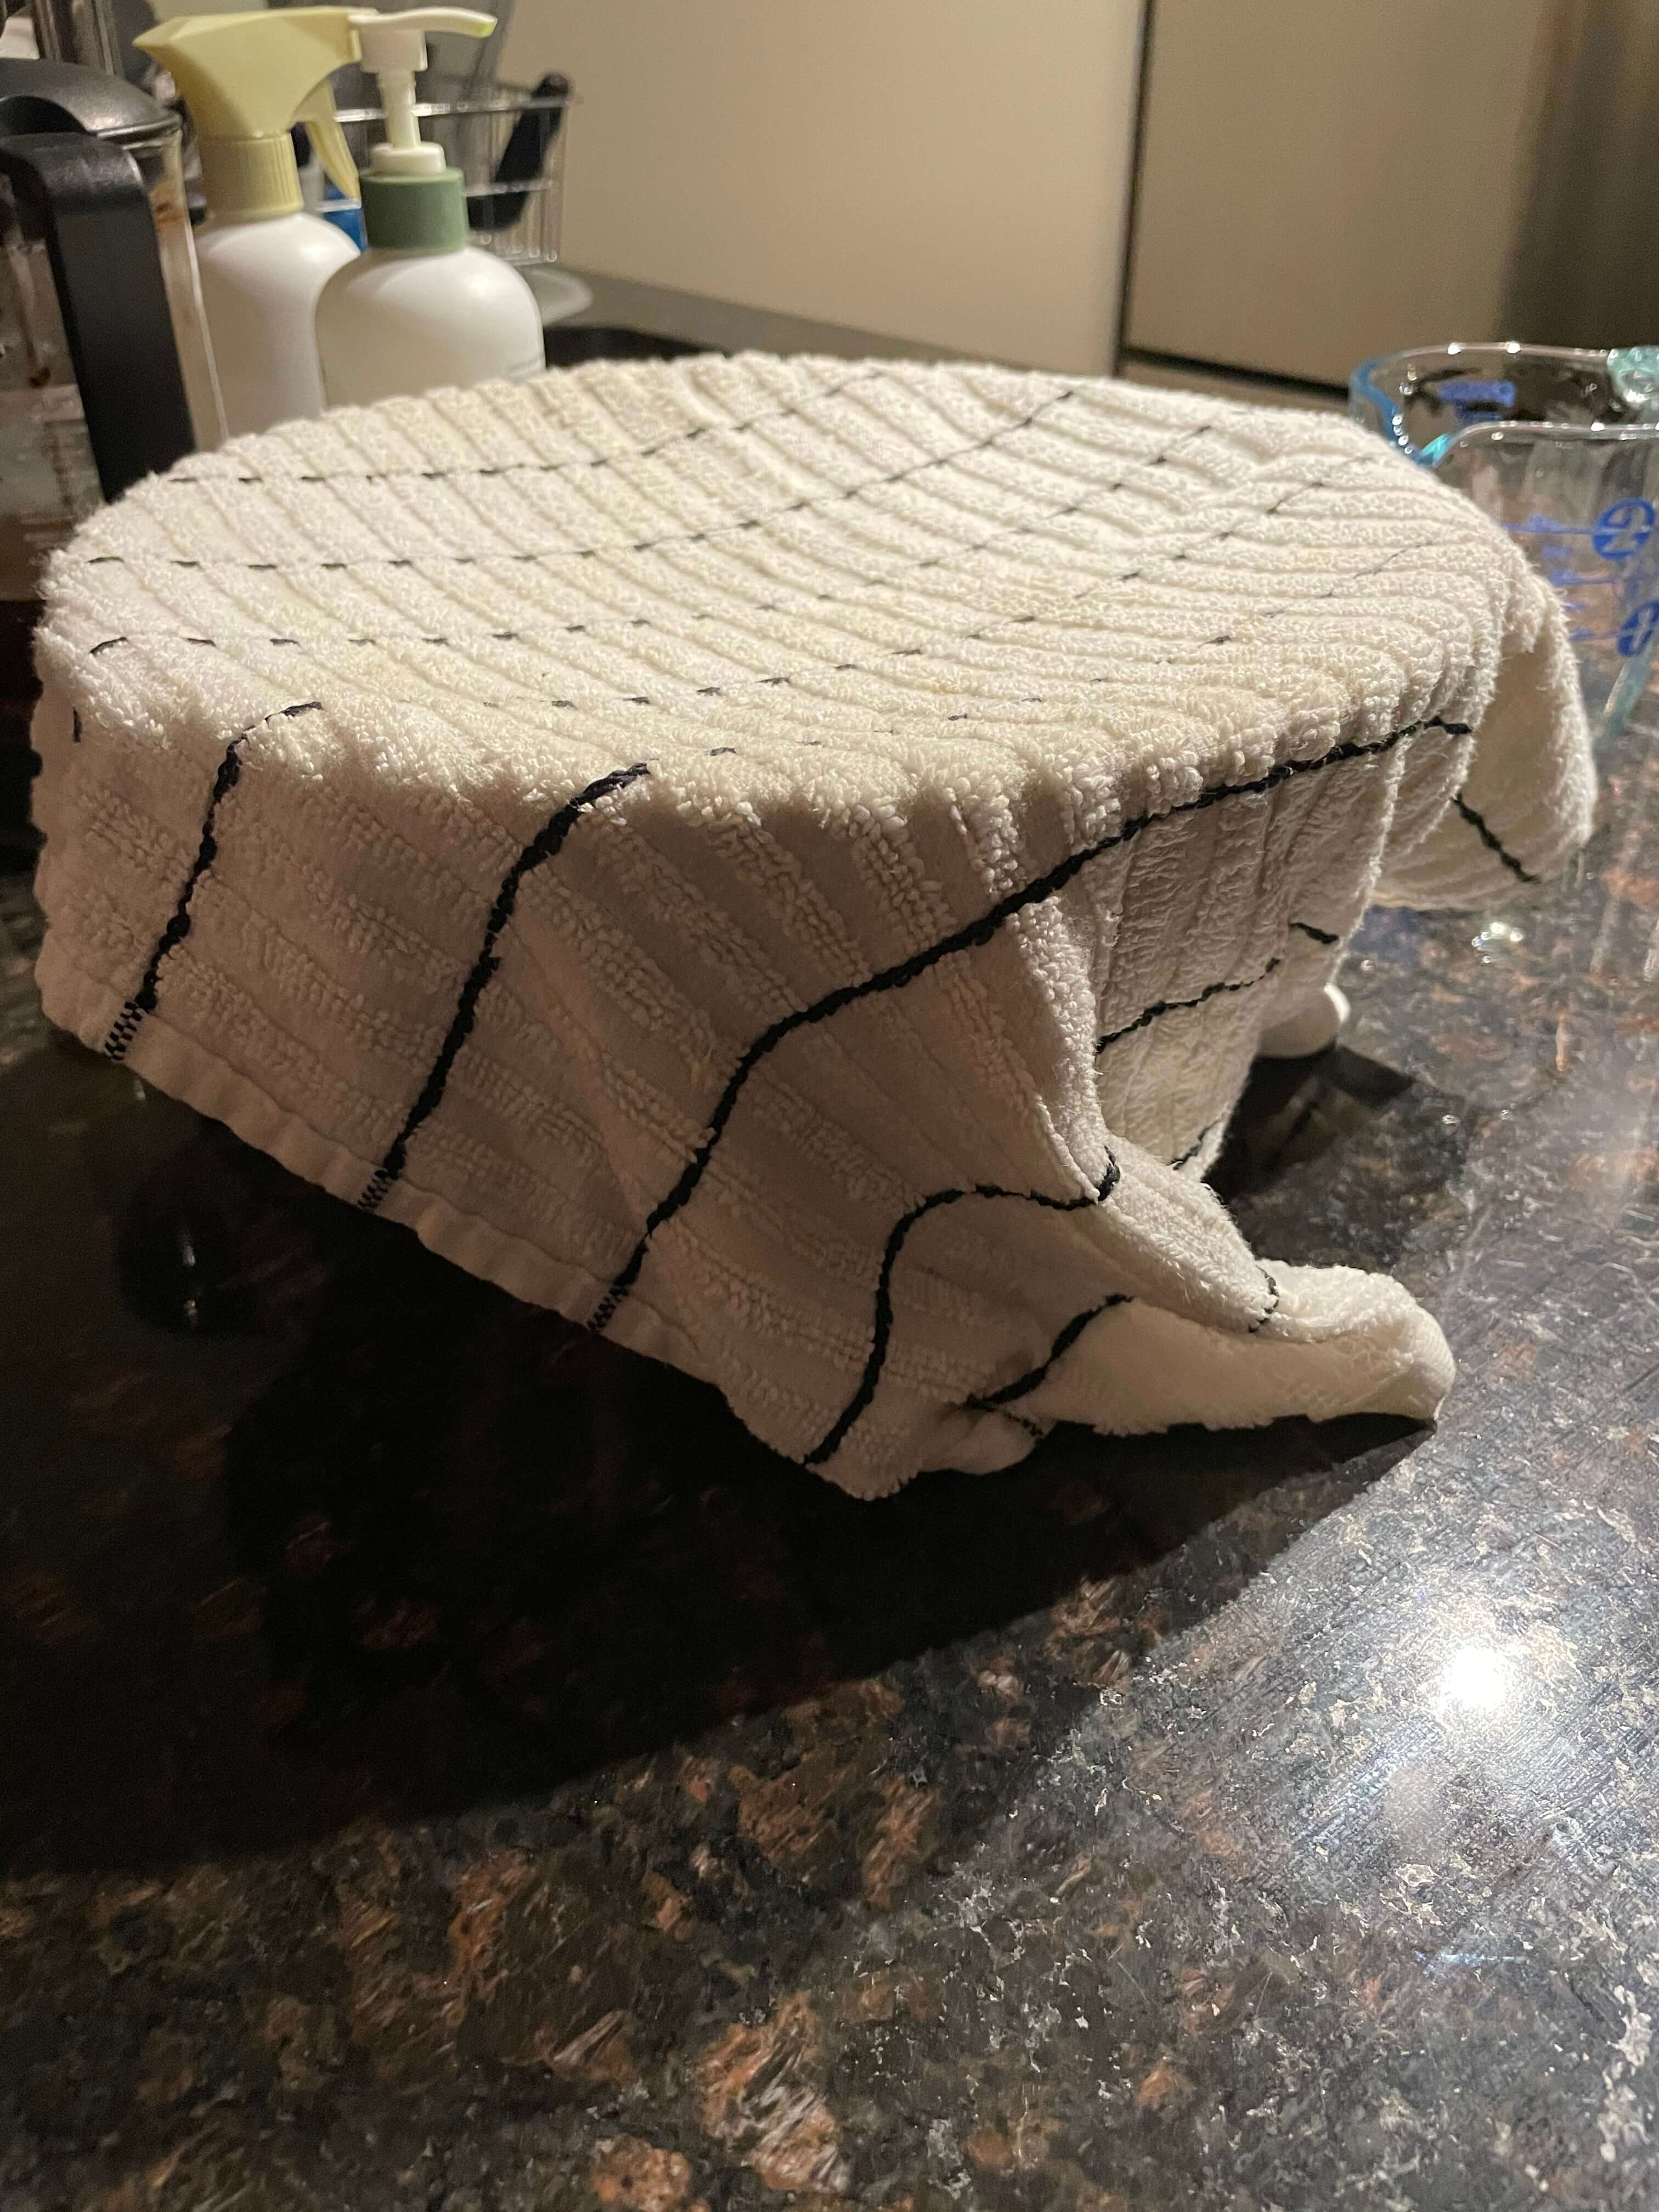
Grabbing your recently shaped dough, place it in your proofing basket with bottom (seem-side) up. Cover it with a towel.
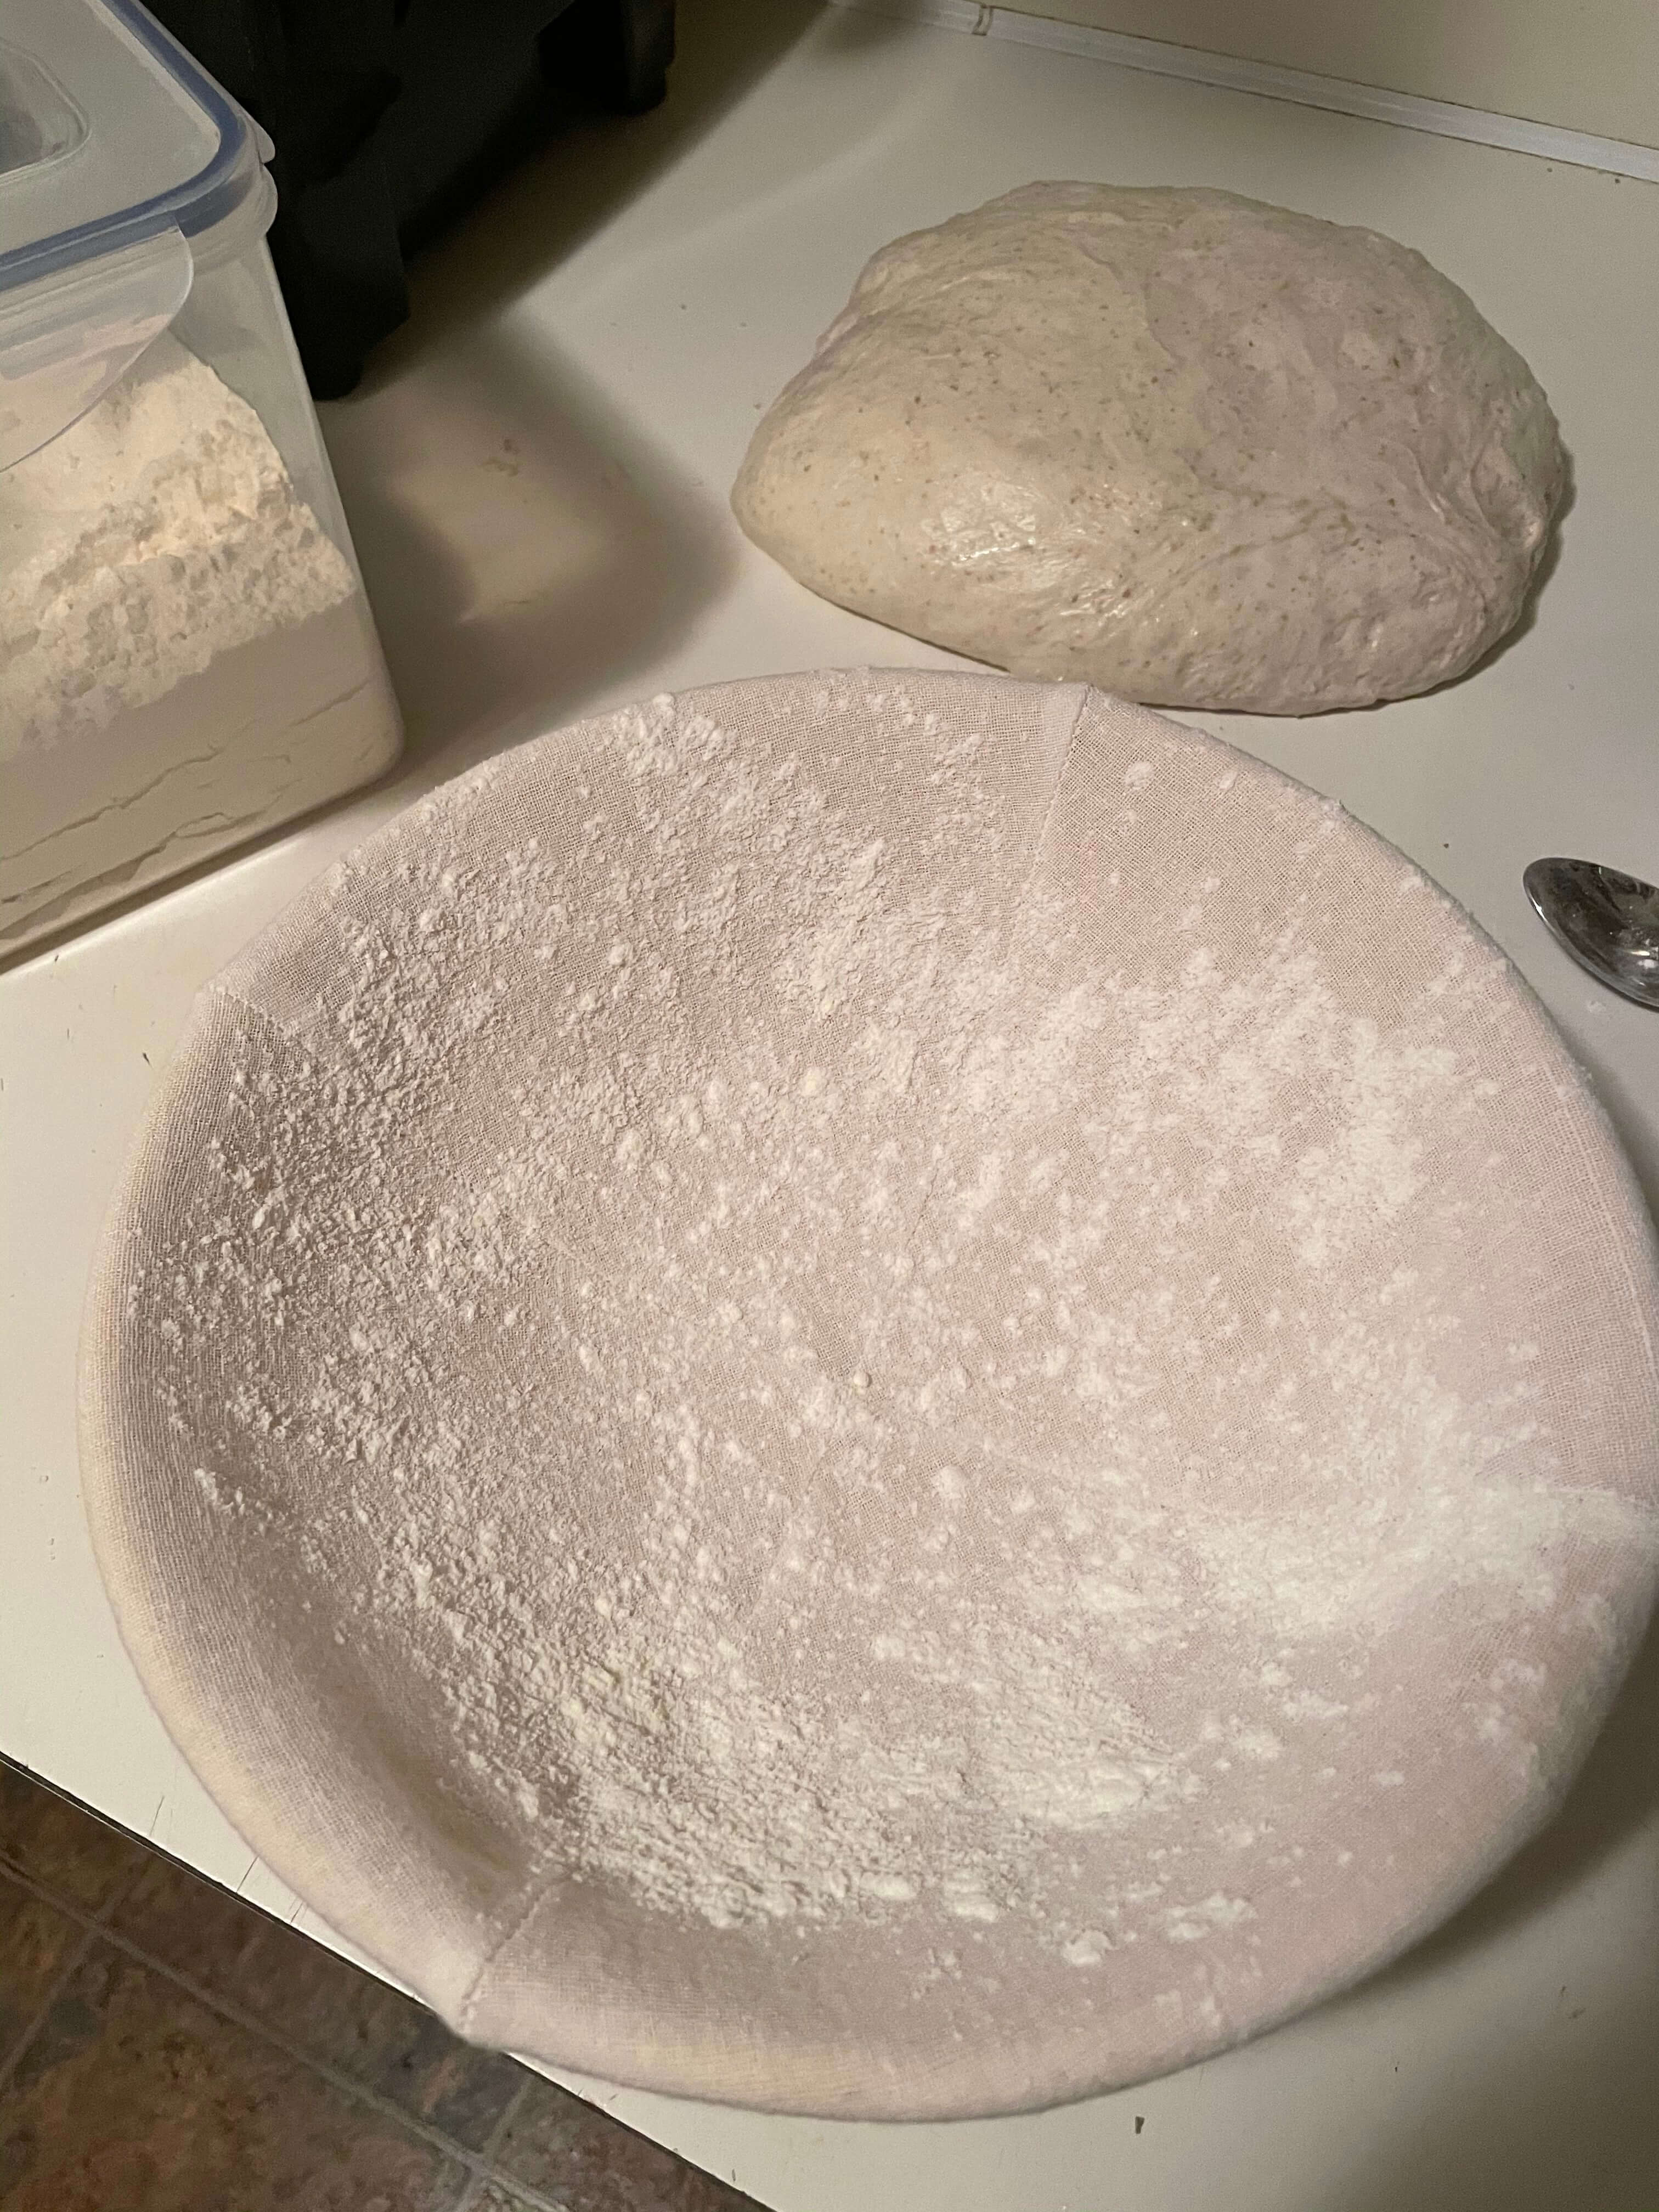

At this point you can either choose to leave it out for 2-4 hours at room temperature, or put it in the fridge for 6-12 hours. Whatever is easiest for you.
You’ll know it’s ready when you poke it and there is a little spring. If it springs back entirely, it’s still proofing. If it leaves a deep mark, it’s over proofed.
9. Baking
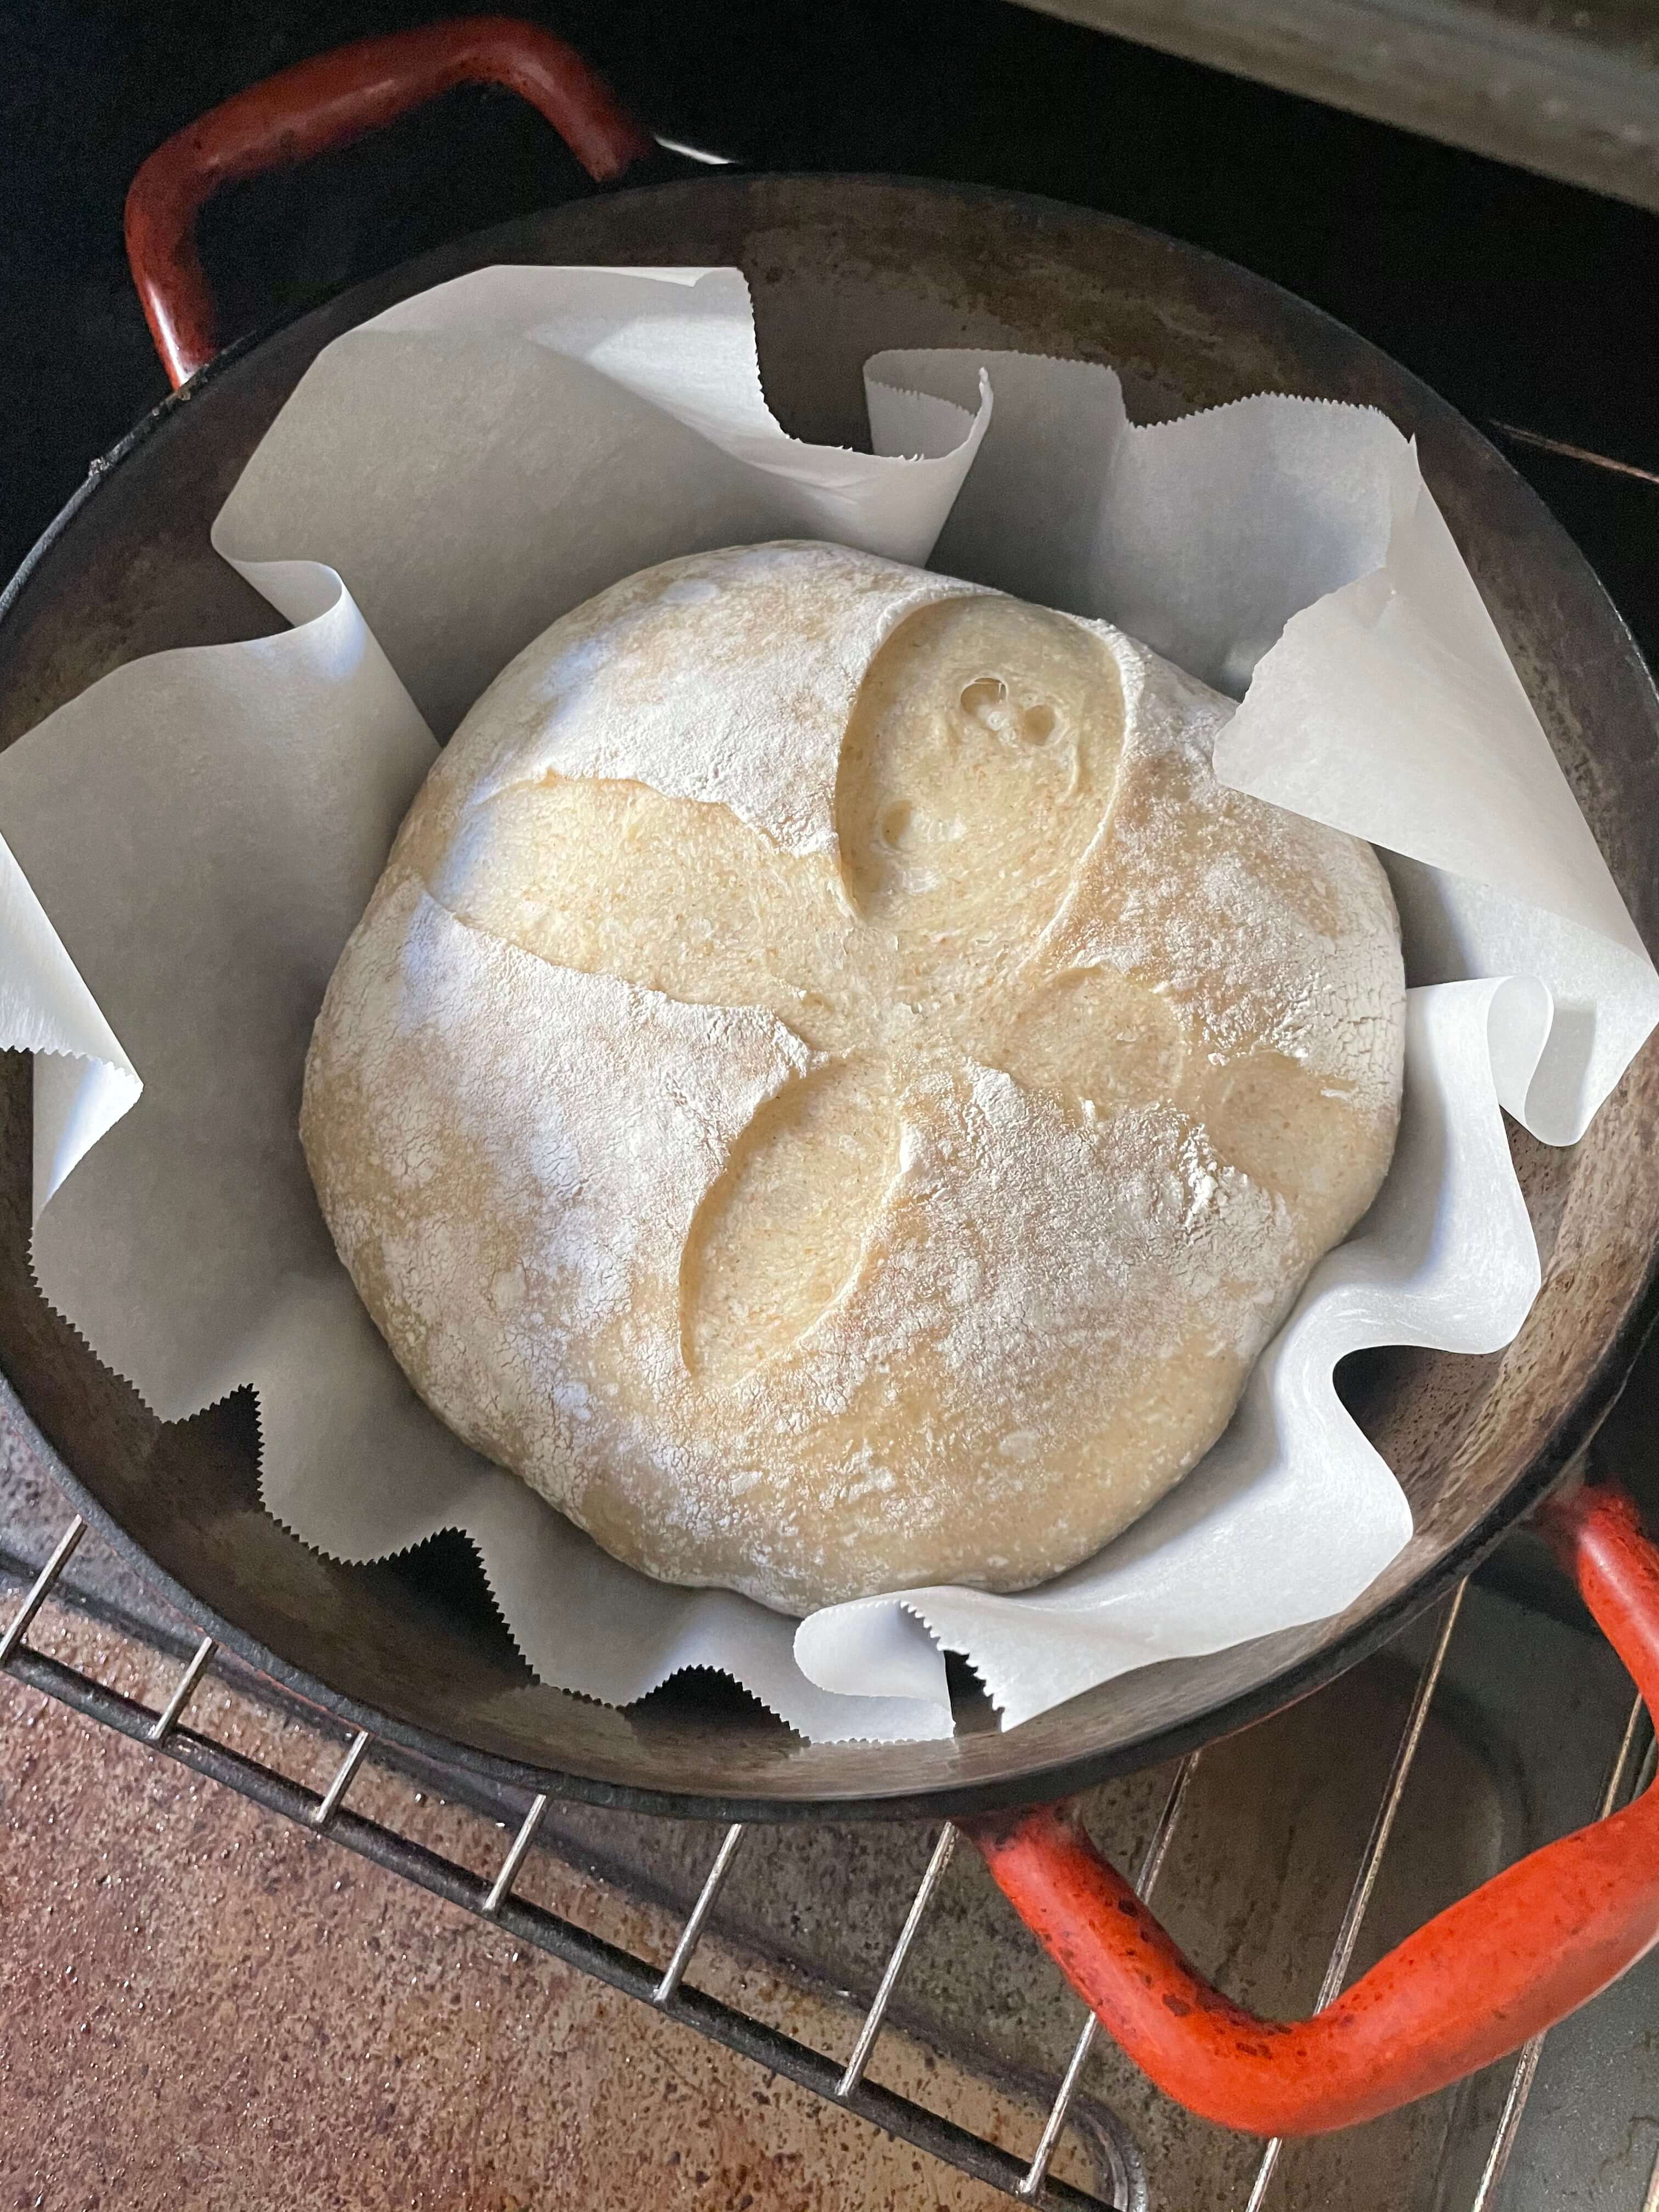
Once your dough has had some time to proof, you’re ready to bake.
 Proofed sourdough, ready for baking.
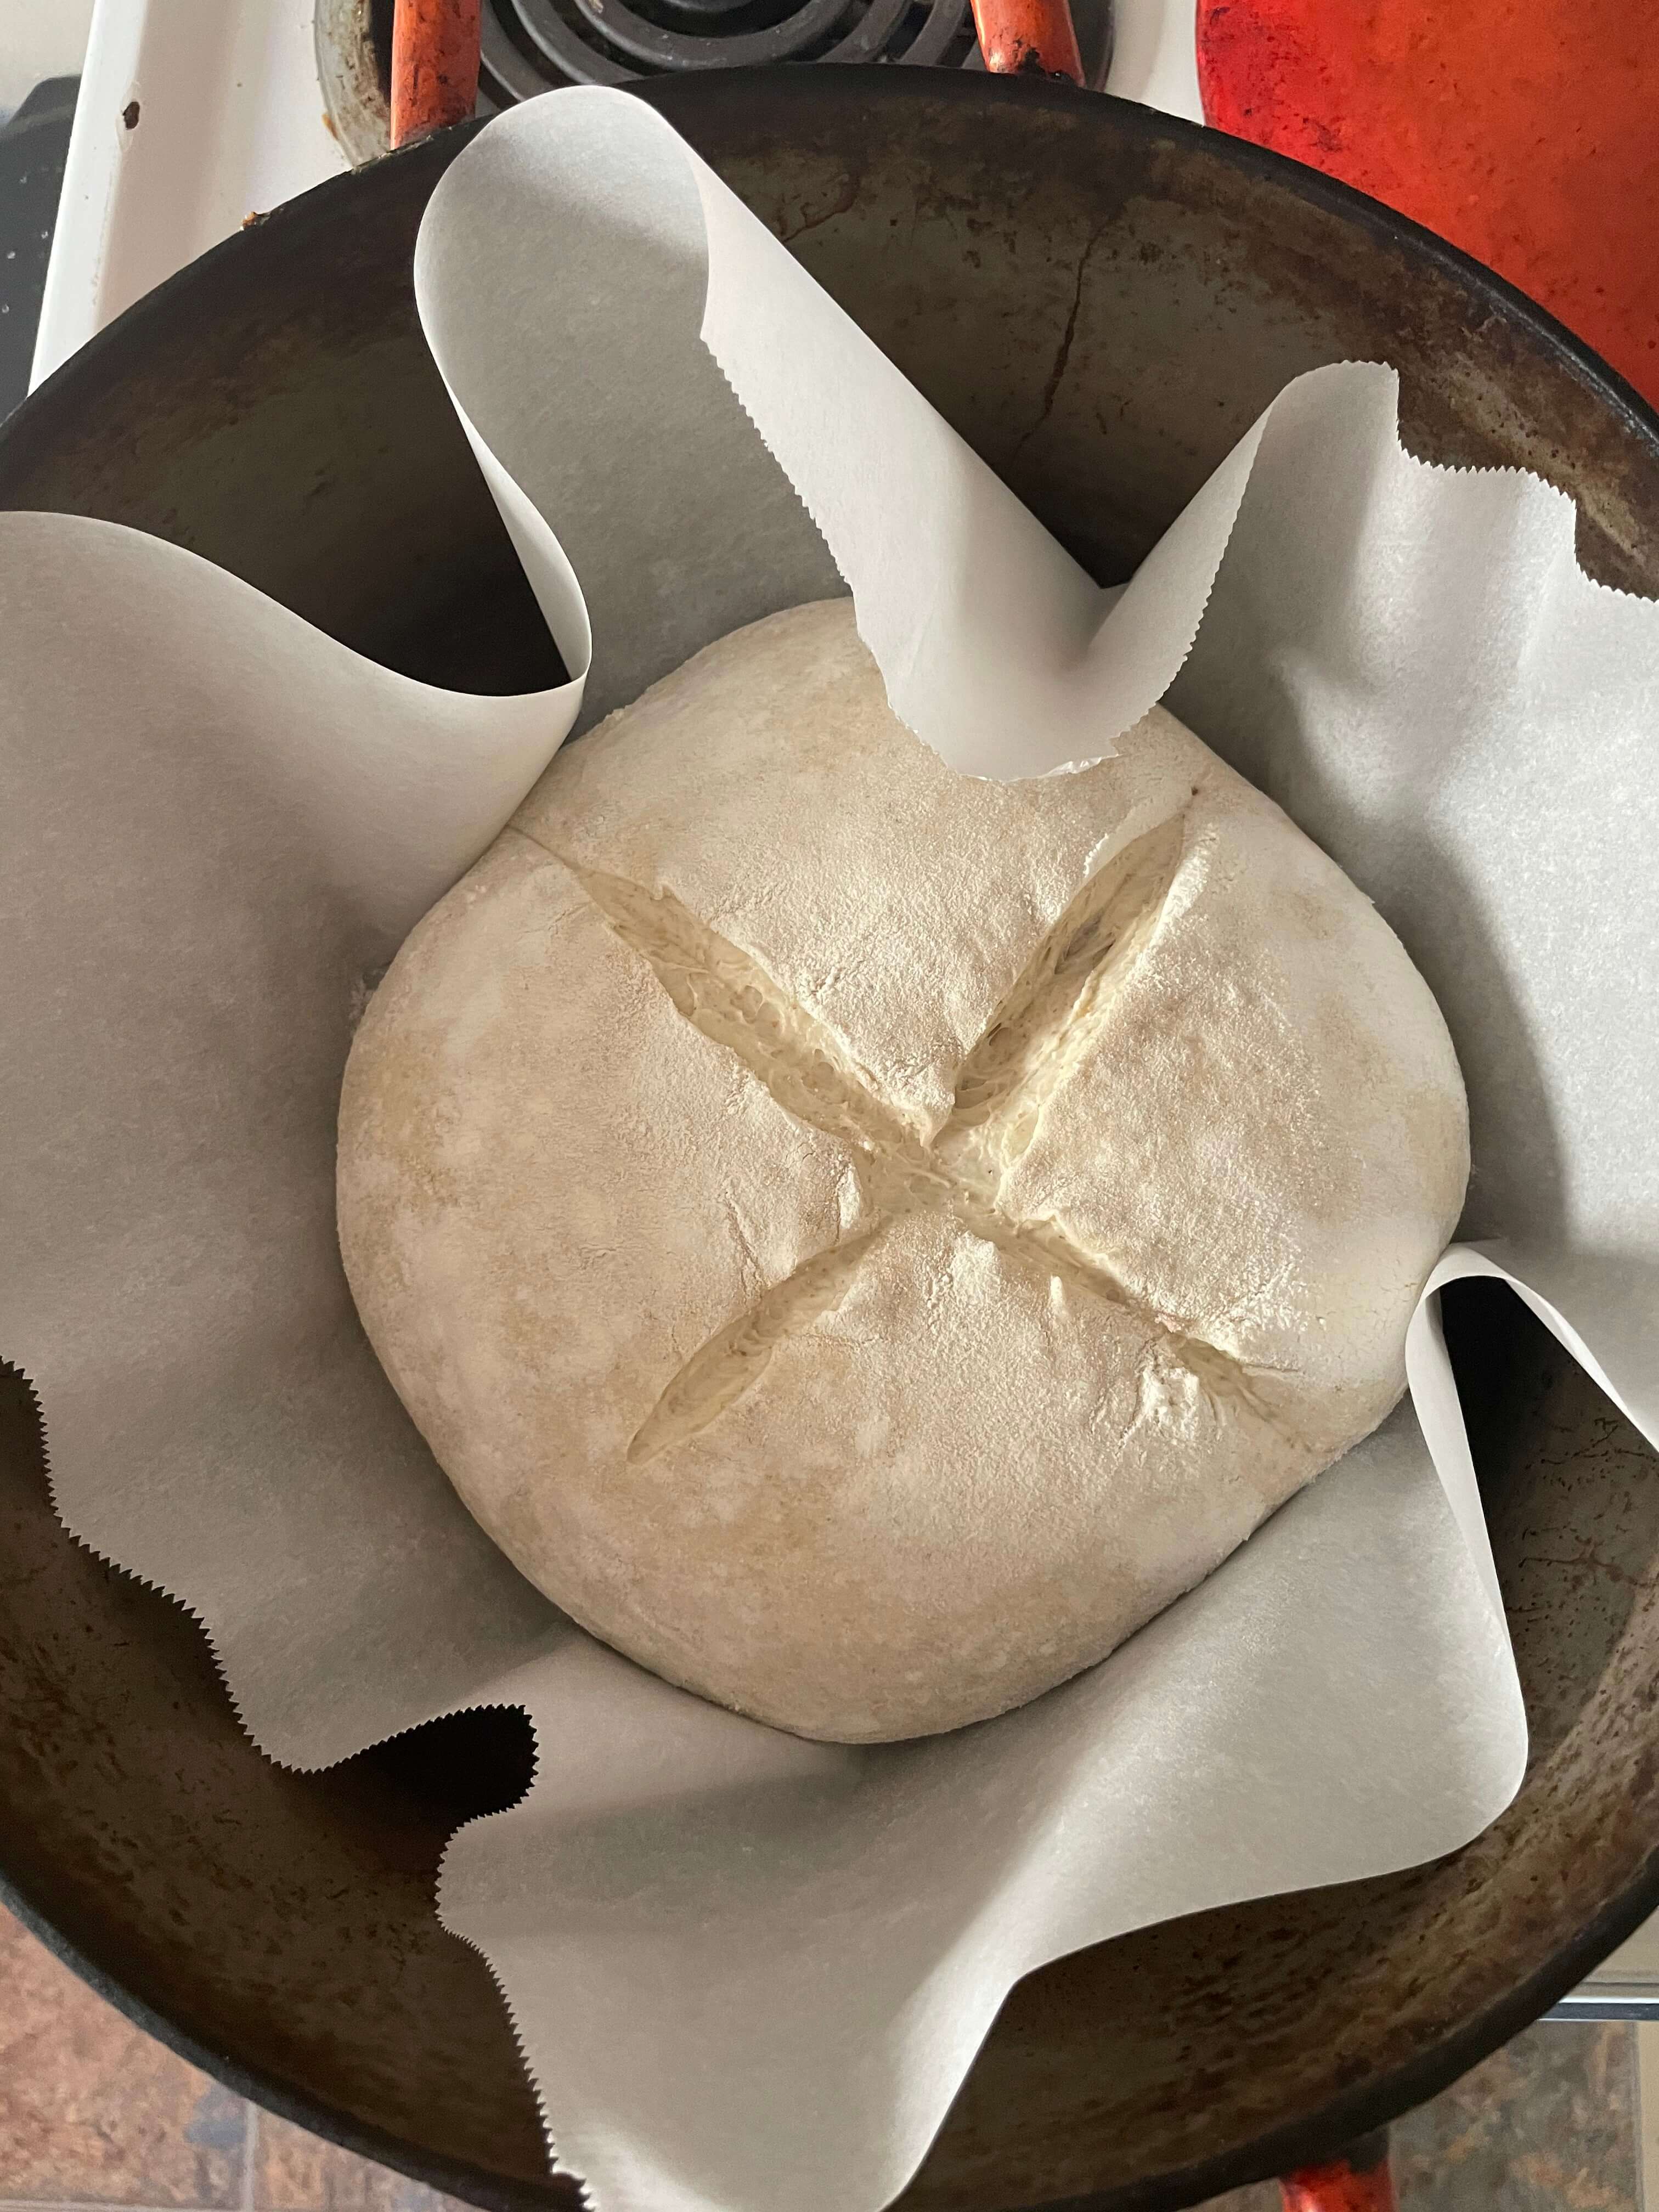
Pre-heat your dutch oven to 425°.
Grab your proofing basket and lightly flour the top-side of the proofed dough—this is going to be the bottom once we flip it.
Tear a square of parchment paper and cover the basket and dough with it. Placing one hand on top of the parchment paper to support the dough, use your other hand to flip the basket over, so that your dough is left resting on top of your parchment paper on the counter.
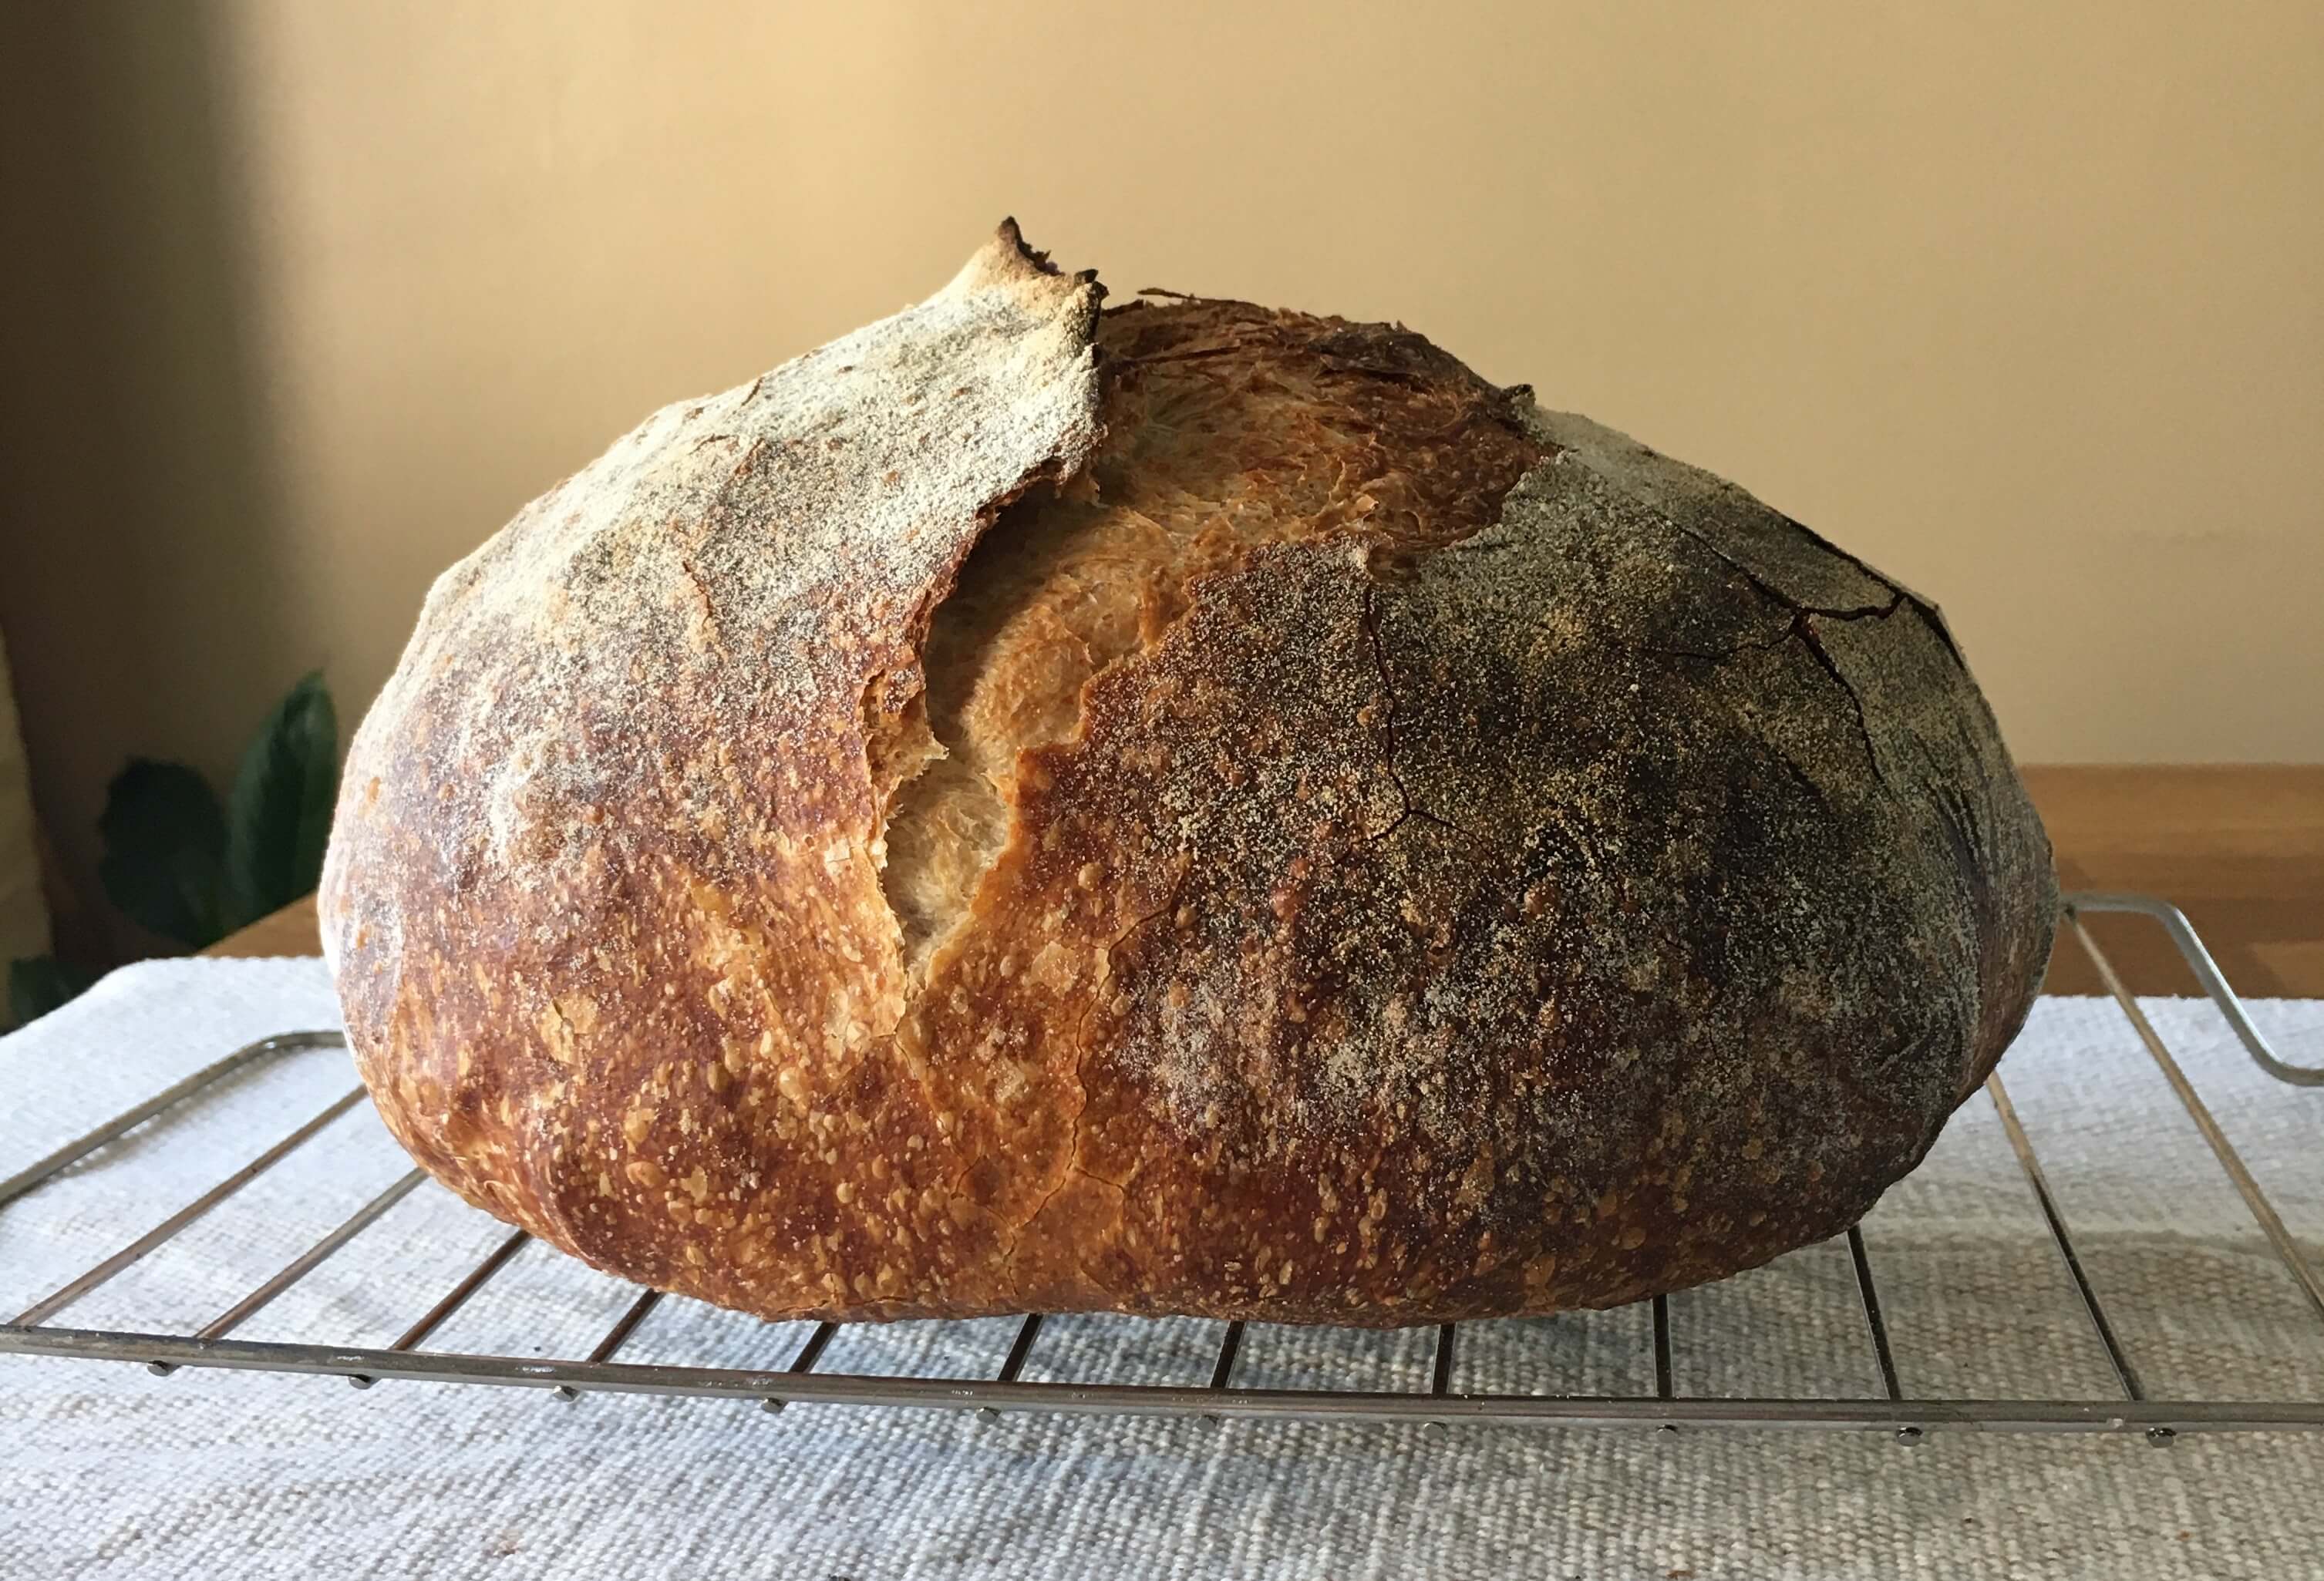
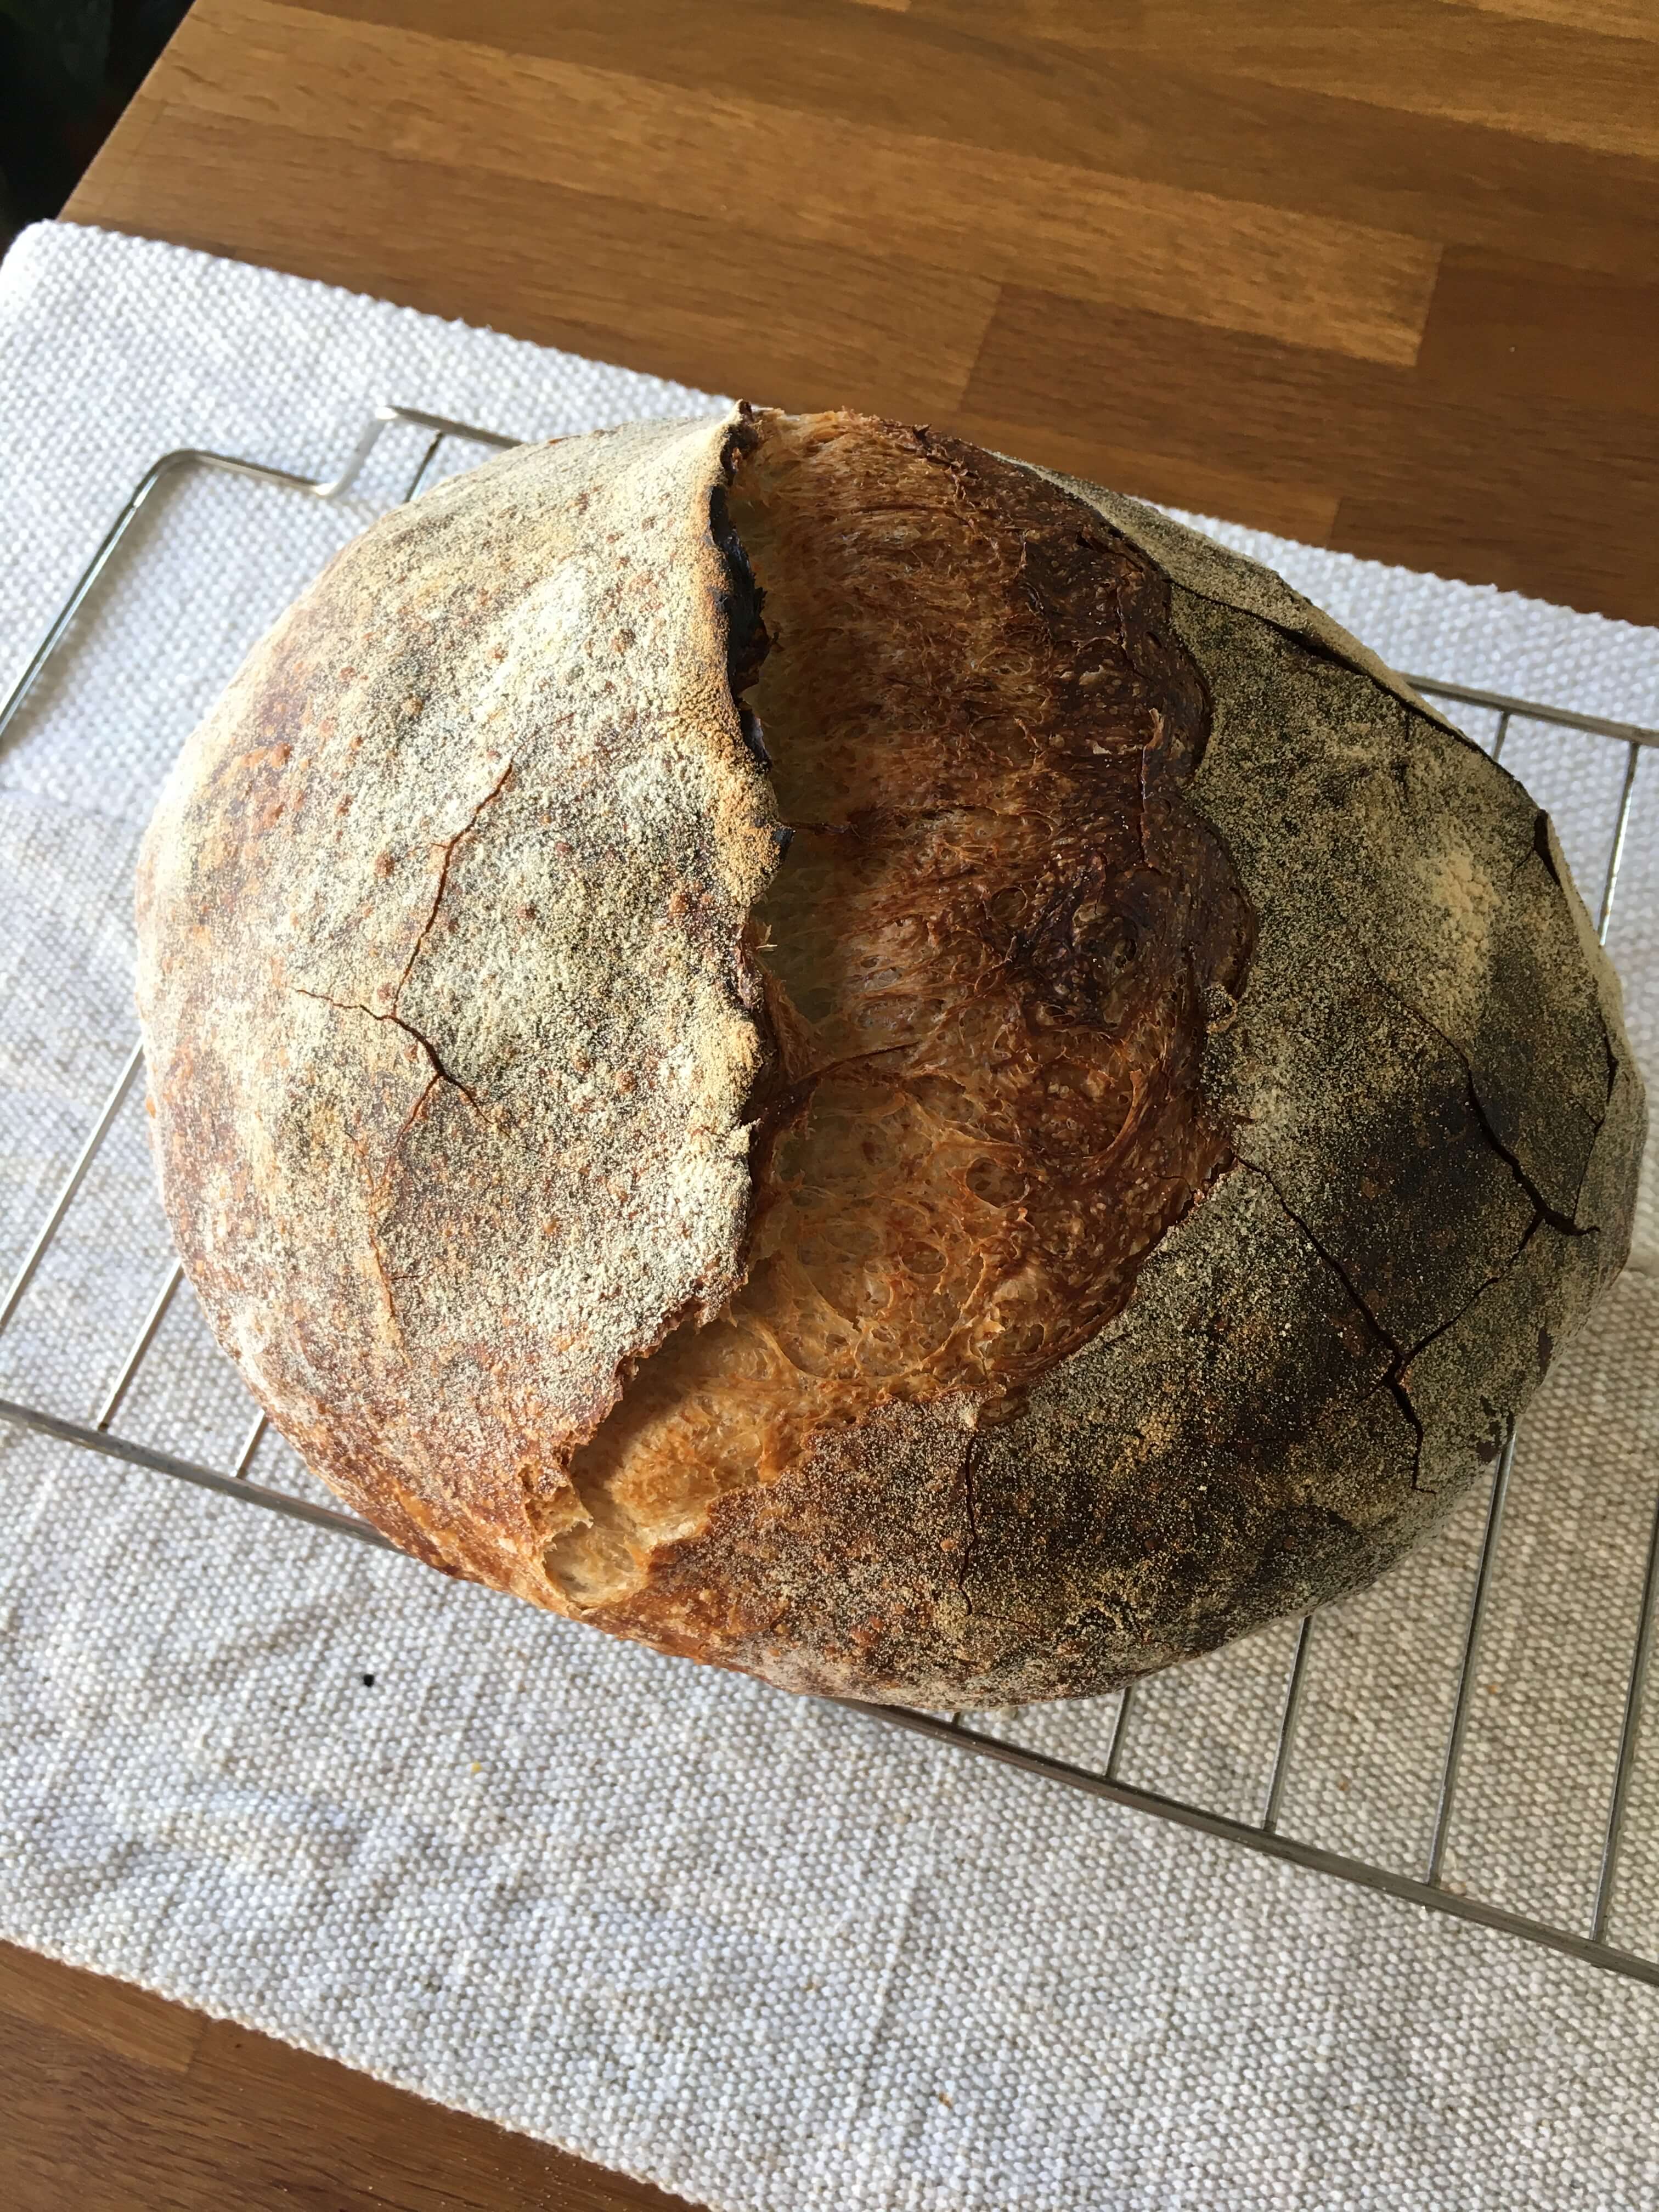
Score the dough however you like to allow for steam to escape while your bread bakes. I tend to keep it simple, cutting one straight line down the middle with my knife at a 45º side-angle to create what is called an “ear” on the loaf—purely aesthetic.
After you’ve scored your bread, remove your pre-heated dutch oven and take the lid off. Grabbing opposite corners of your parchment paper, place your dough and paper in the dutch oven.
Place the lid back on and put your dutch oven back in to bake for ~20 minutes with the lid on. After ~20 minutes, pop the lid off and continue to bake for ~25 minutes—this is something that may fluctuate with your kitchen setup.
Once your bread has baked enough and you’re happy with the color of it, remove from the oven and place on a cooling rack. Allow at least 1 hour for your dough to cool before cutting into it and prepare for your life to change forever.
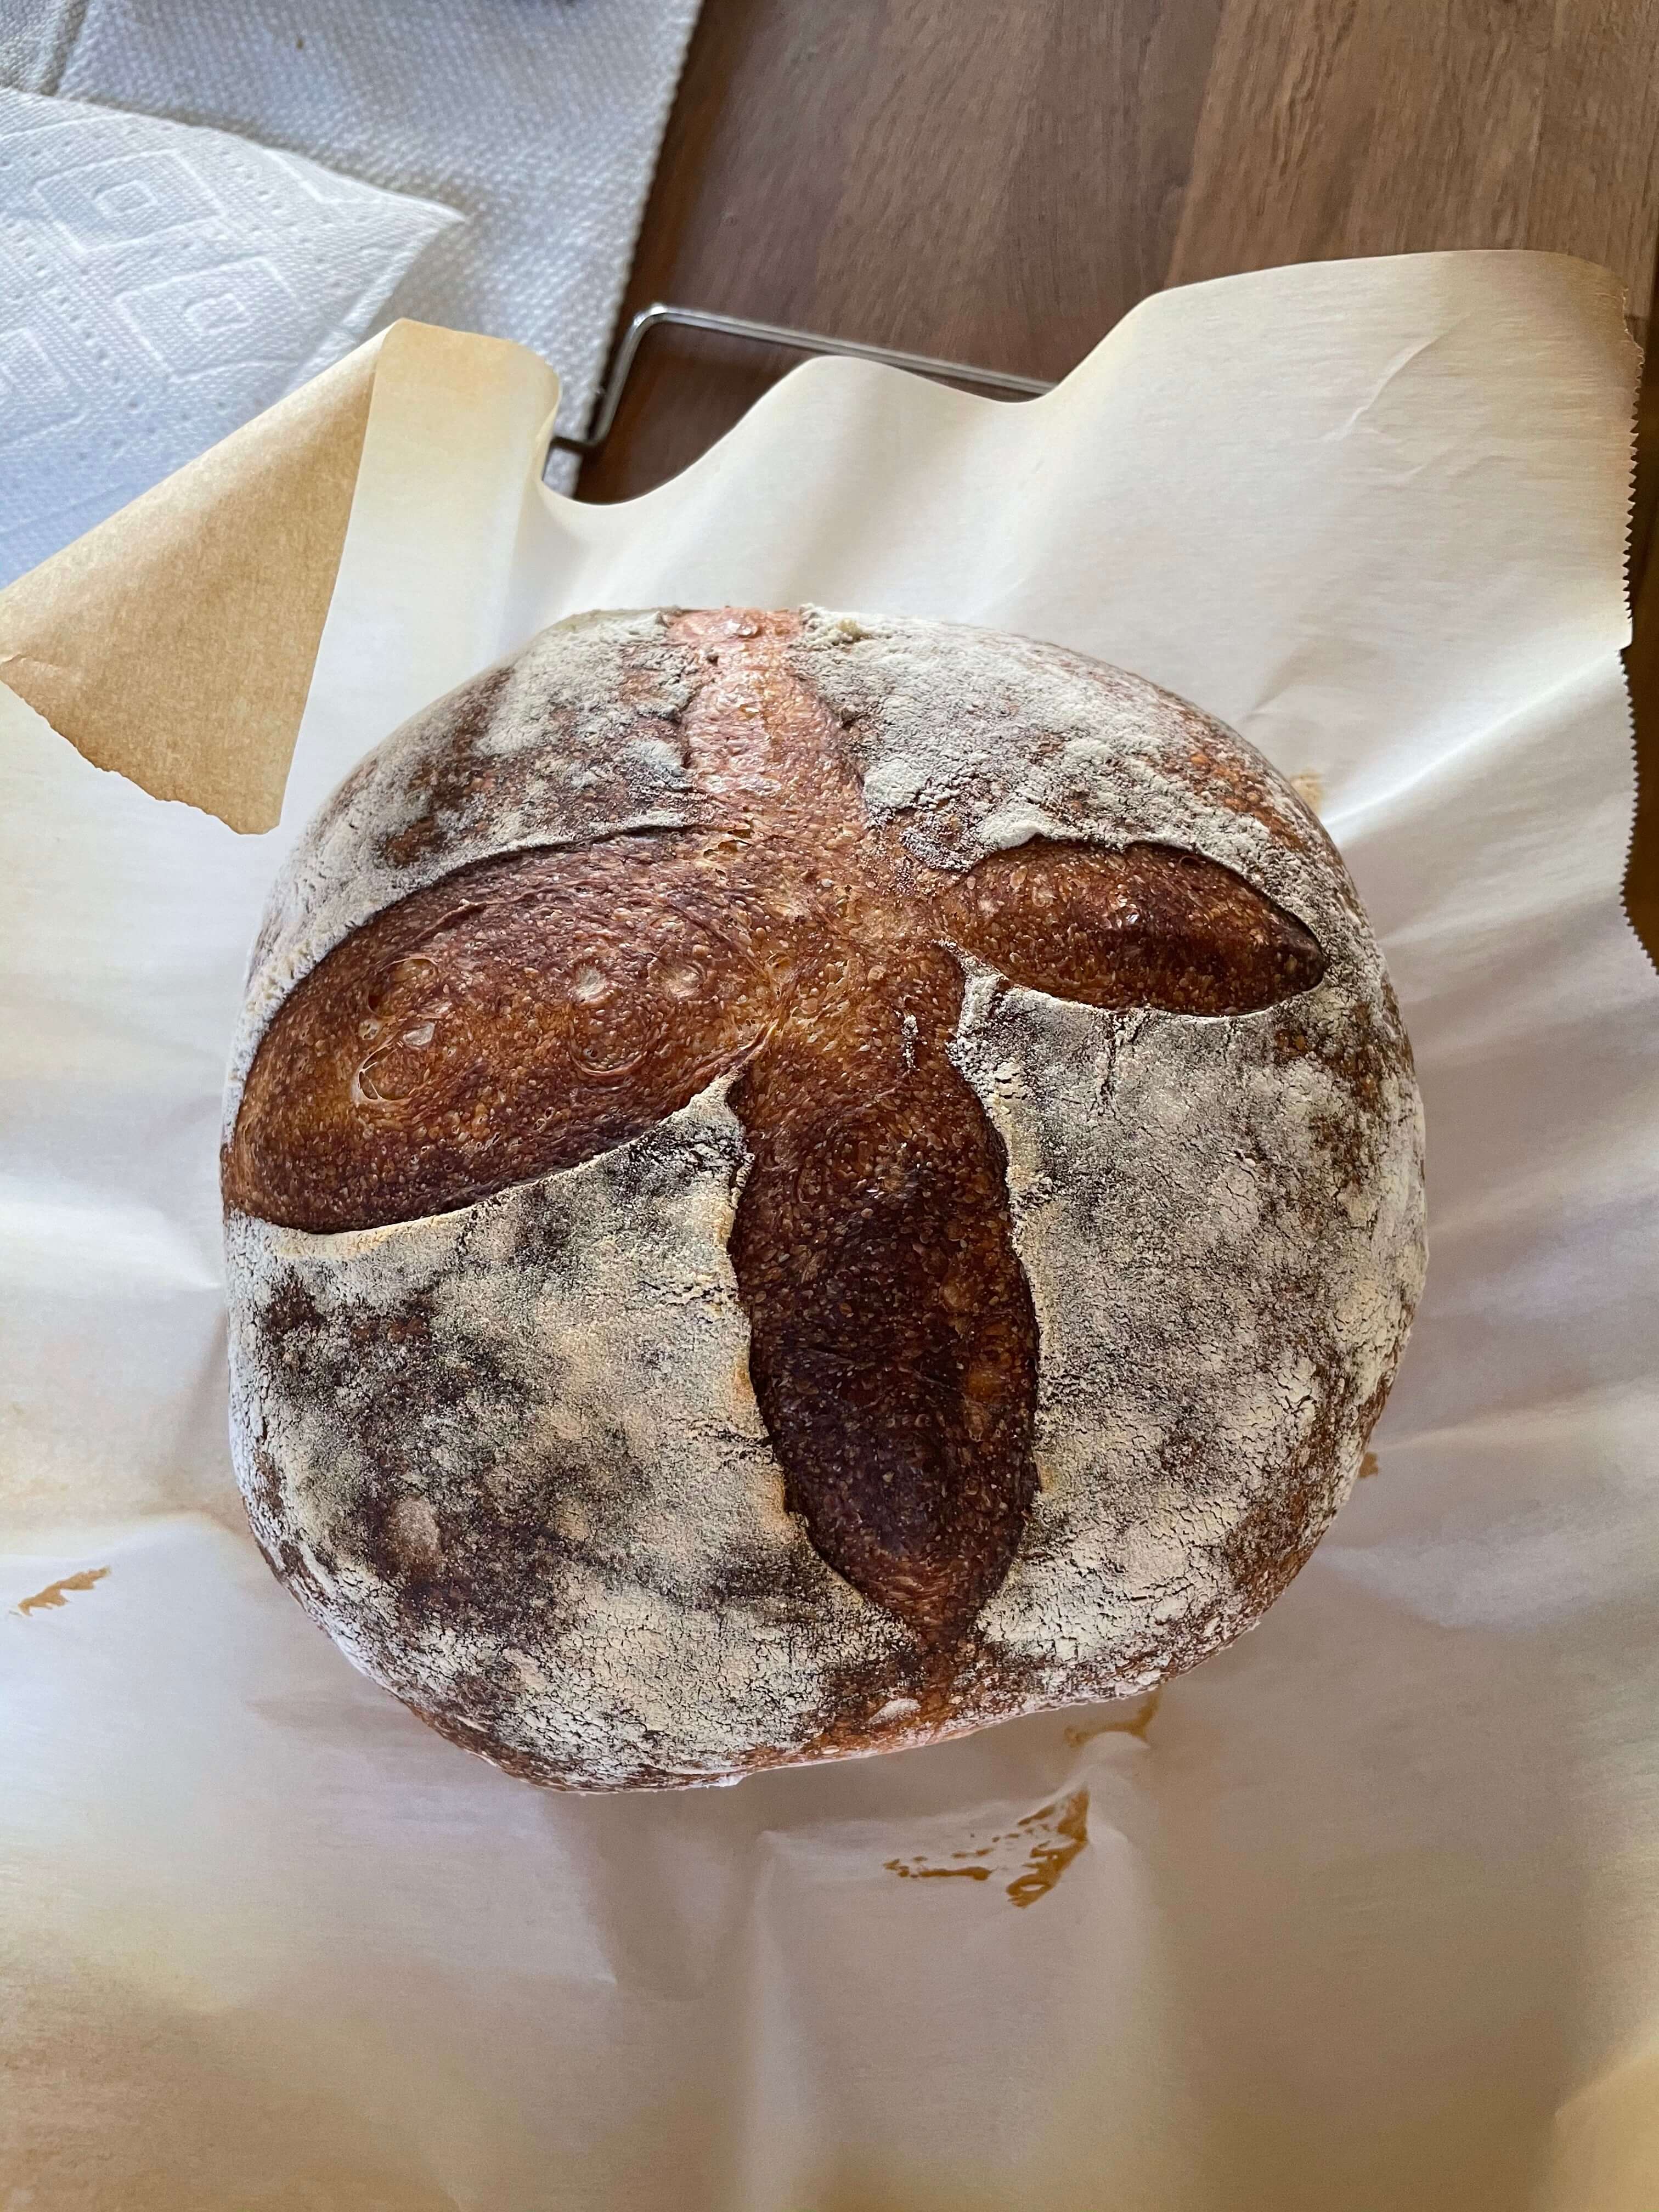
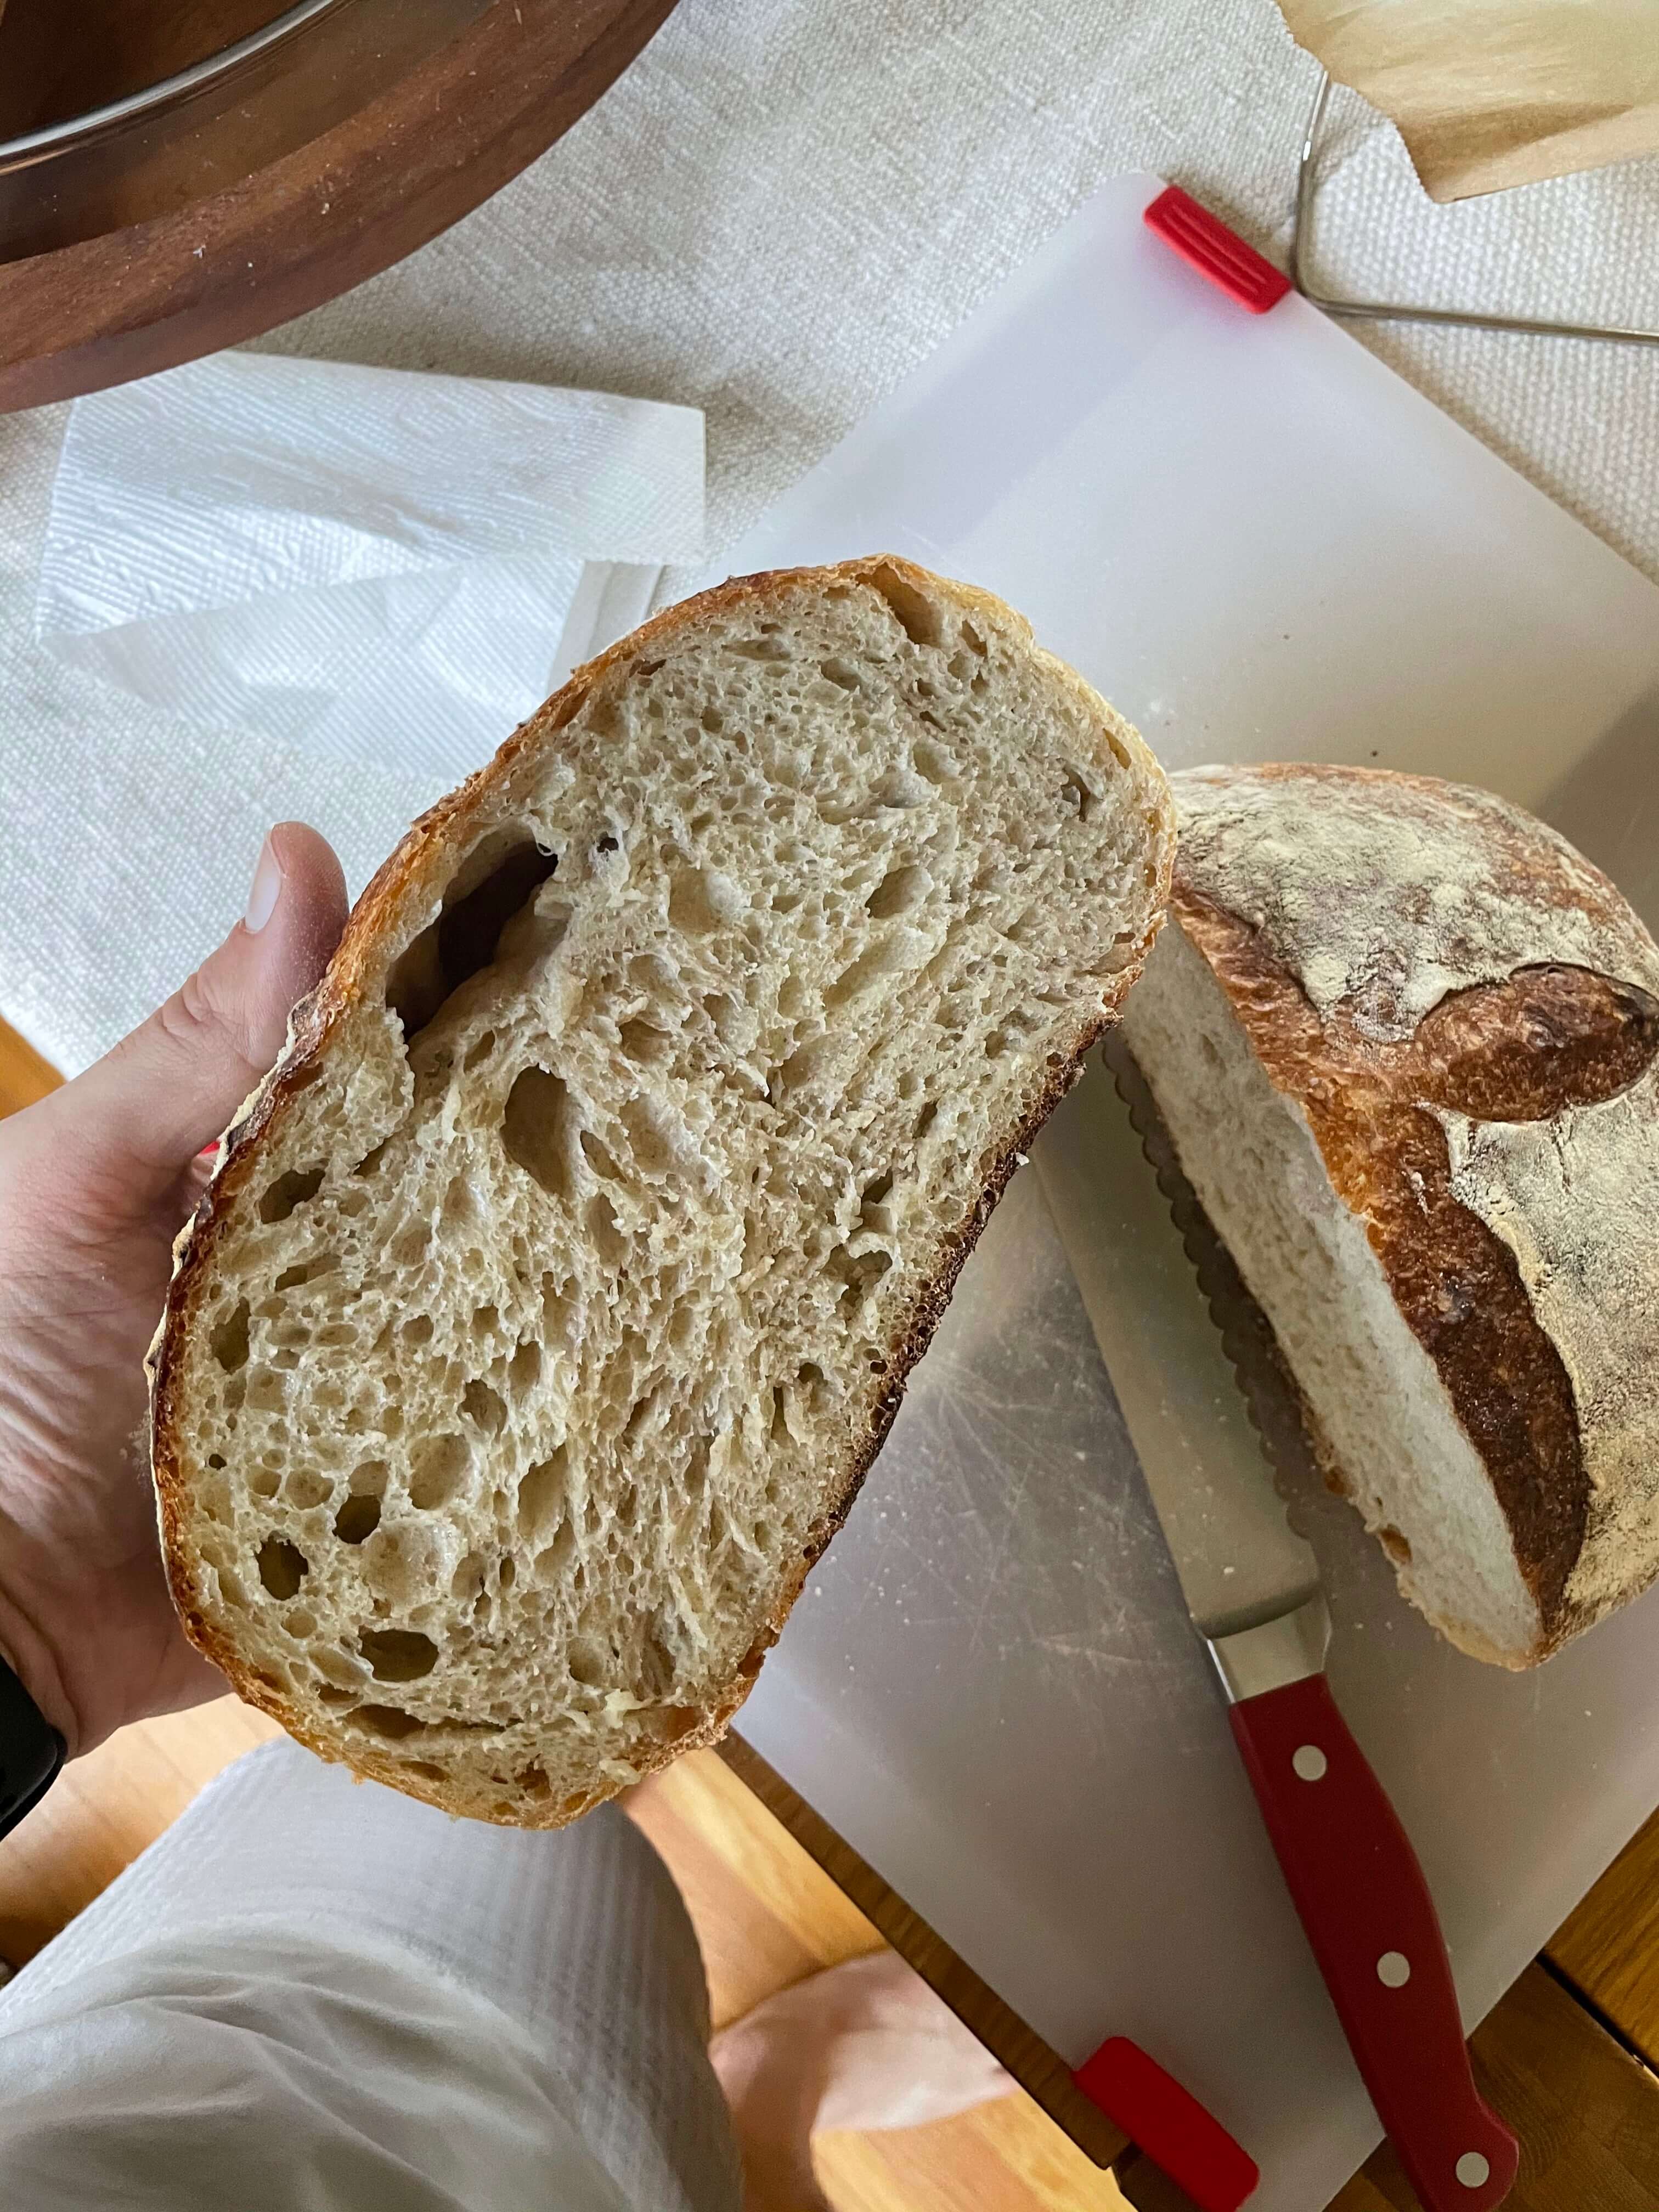
Those first bites are dangerous so do your best not to eat the entire loaf at once.
 The darker ridge on the left-side of the cut is referred to as an “ear”.
Bake day schedule
-
8:00am - Feed starter and let activate (1-2 hours)
-
10:00am - Mix flour and water and let sit (45 mins)
-
10:45am - Mix in salt and starter (5 mins)
-
10:50am - Then stretch and fold every ~30 mins (2-3 hours)
-
2:00pm - Bulk rise/fermentation — faster if it’s warmer, slower if it’s cooler (2-6 hours)
-
8:00pm - Shaping and bench rest (15 mins)
-
8:15pm - Final shaping and prep for proofing (5 mins)
-
8:20pm - Proofing — faster at room temperature (2-4 hours), slower if kept in fridge (6-12 hours)
-
7:00am - Prep for baking / scoring a pattern (5 mins)
-
7:05am - Baking (20 mins lids on, ~25 mins lid off)
-
7:55am - Remove from oven and let cool
-
9:00am - Eat!
Additional Resources